Russ also has his own pistons made. In fact I think a bunch of you are familiar with his pistons.
But you aren't familiar with *these* pistons.

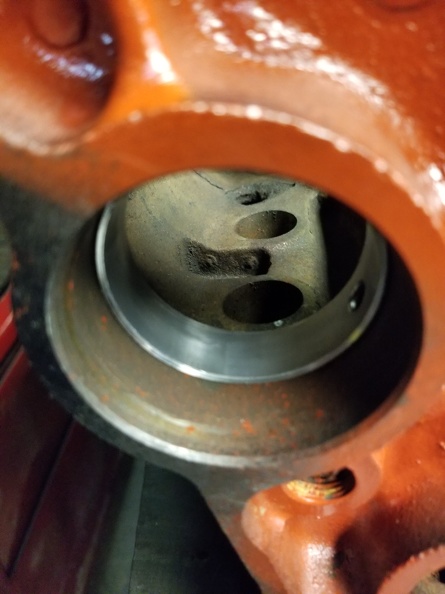
Edelbrock a couple of years ago released a new aluminium head for the 4.0. They missed a lot of opportunities as far as upgrades goes, but the one thing they got right was reengineering the combustion chamber instead of re-using the same AMC chamber from 1941 (1941! jeep used it until 2006). The combustion chamber is a bit smaller both in CC (55) and overall footprint, giving you a better quench zone.
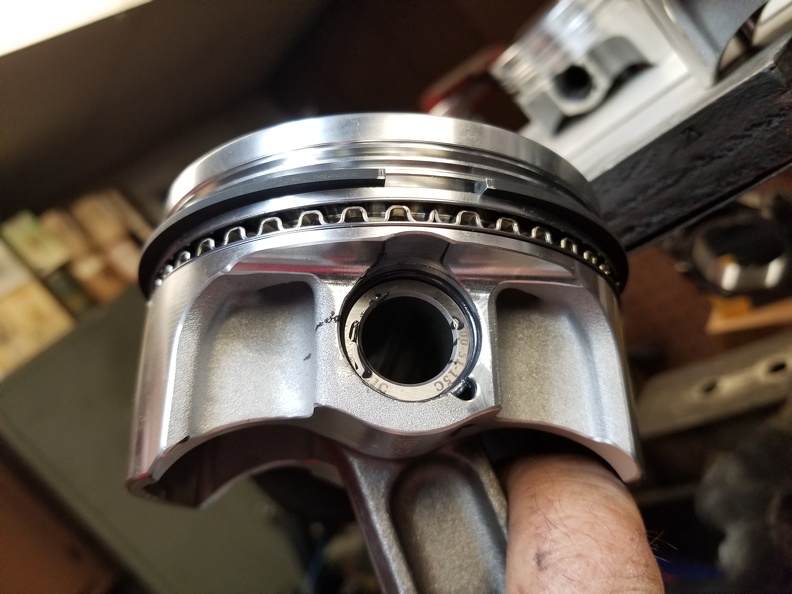
Russ had new custom pistons made to take advantage of that.
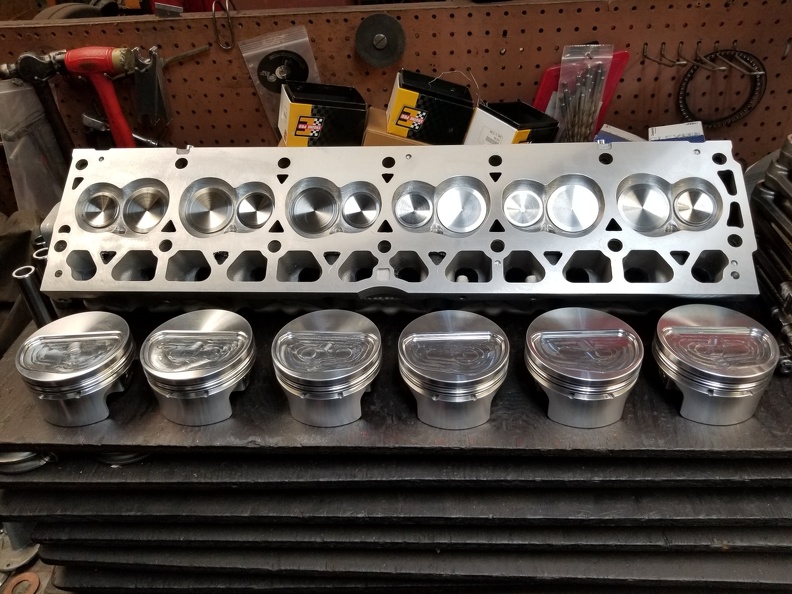
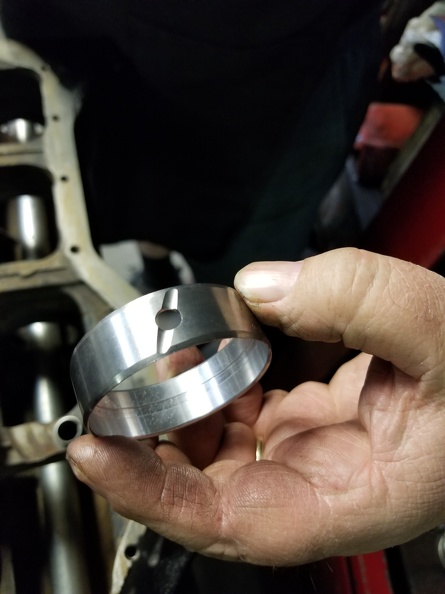
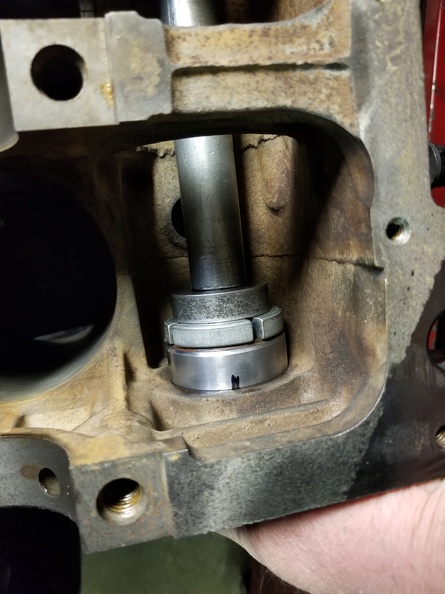
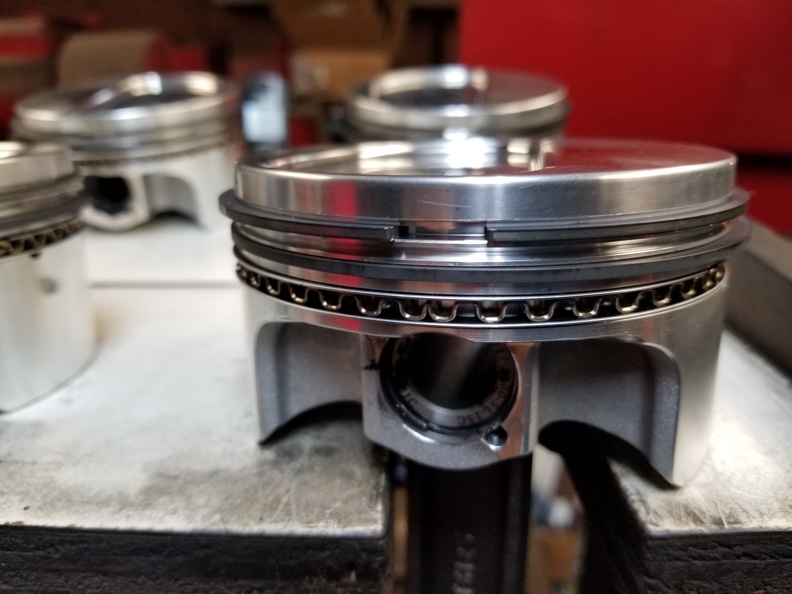
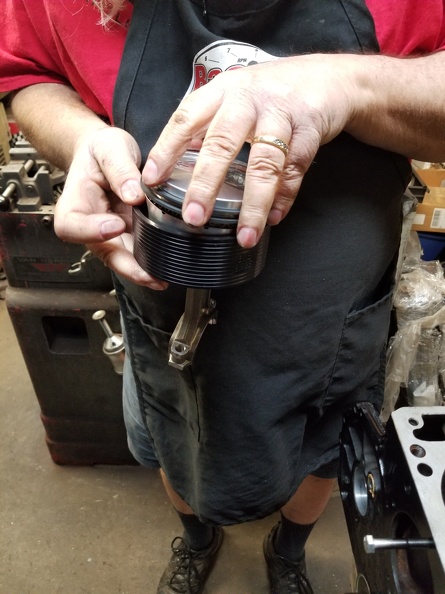
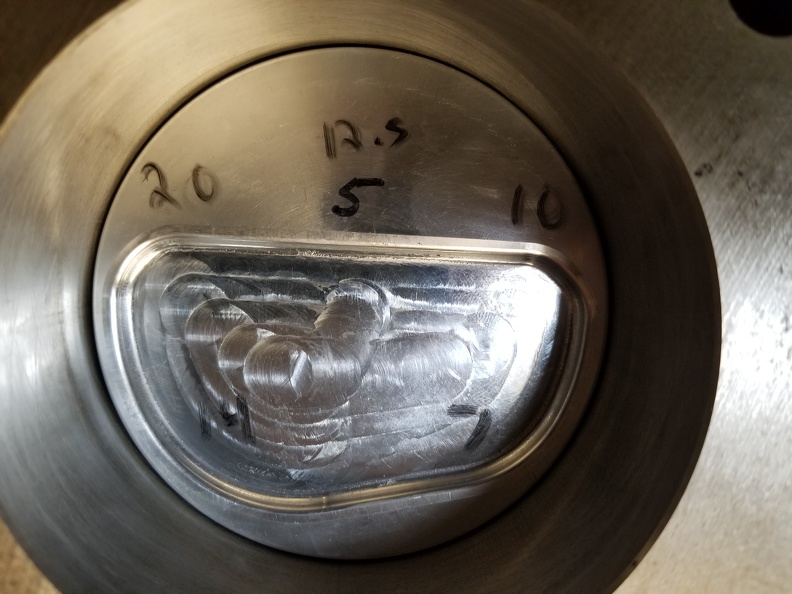
You'll notice unlike any other 4.0 piston (at least that I have seen) to date, these are not all the same. They are asymmetric to match the intake/exhaust orientation of their cylinder. They are forged high silica aluminum (4041? he told me and i don't remember the exact compound). He feels its the best compromise between strength and user friendliness. My particular pistons are a 3.935 bore, 1.385 compressed height and a 14cc dish.
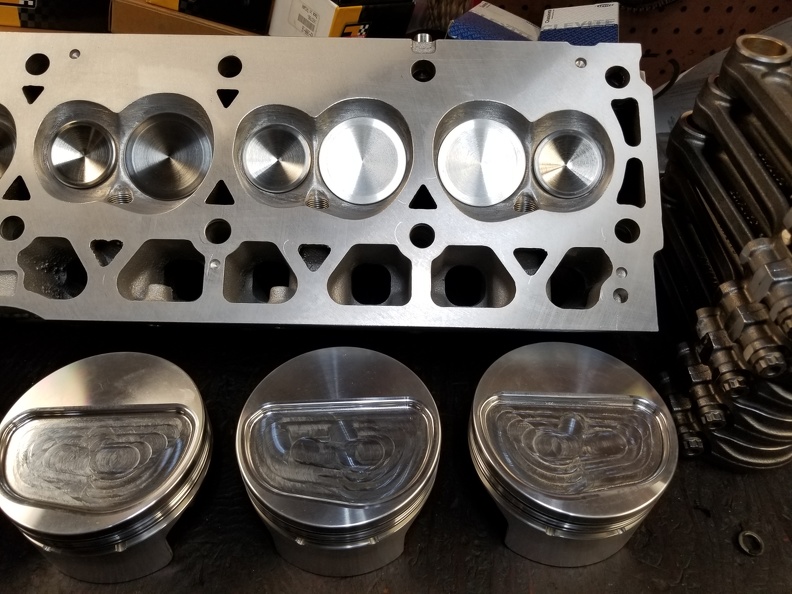
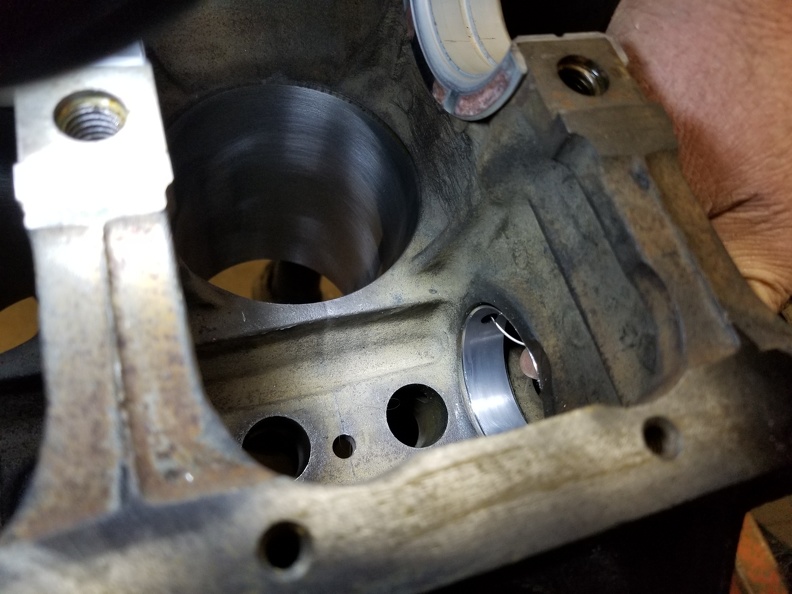
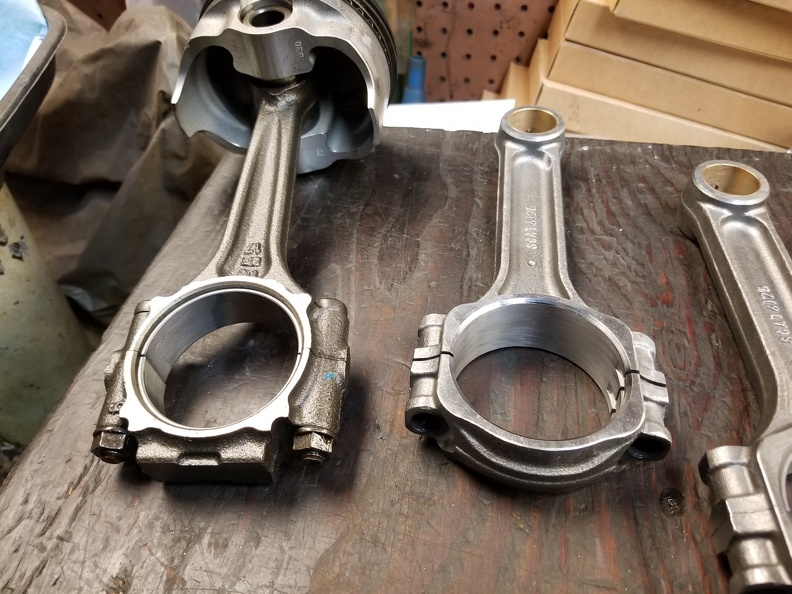
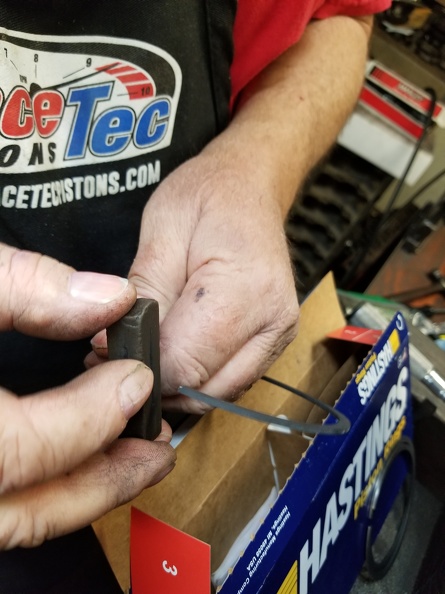
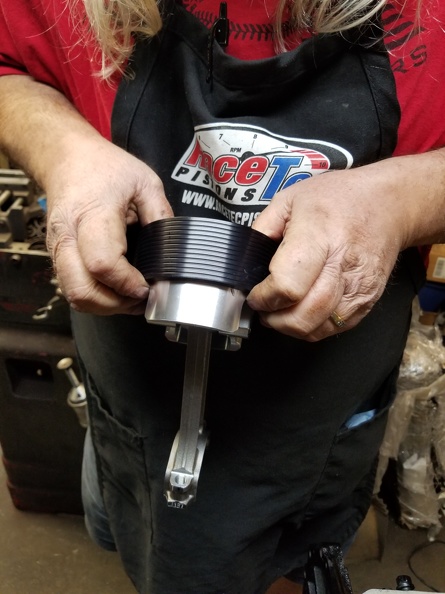
Compare to his standard iron head pistons.
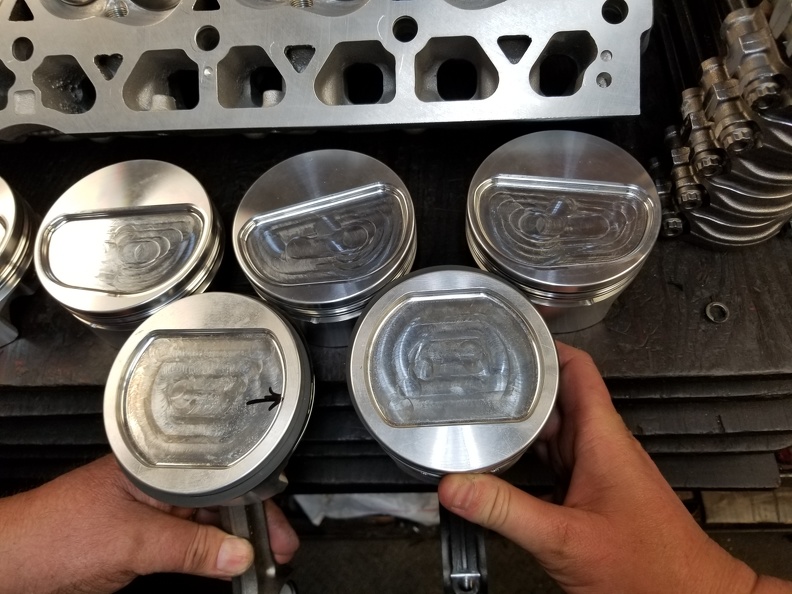
And to really show what we mean.

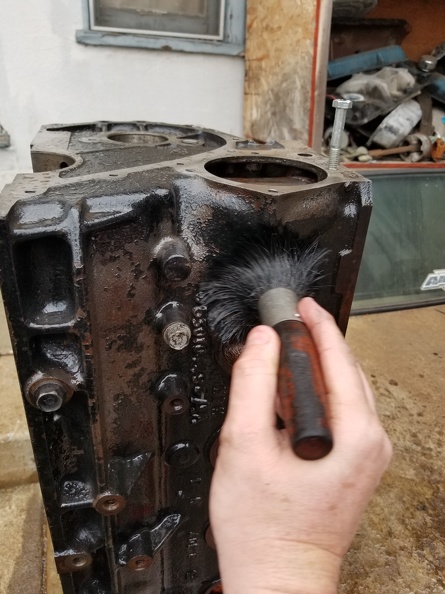
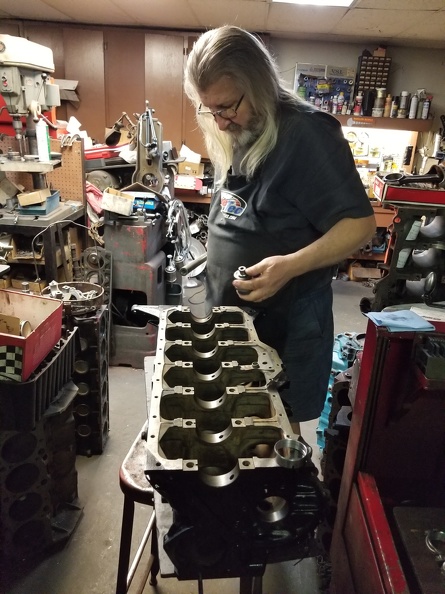
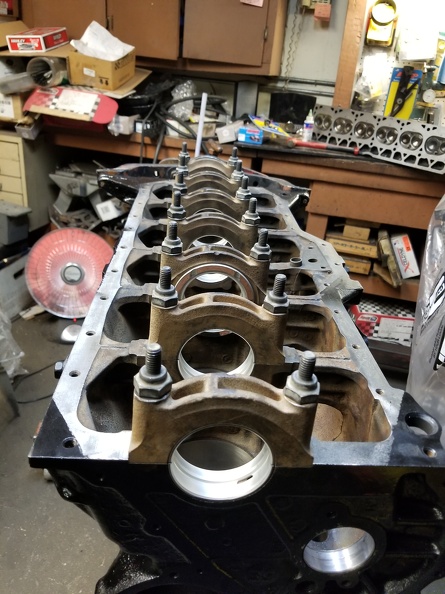
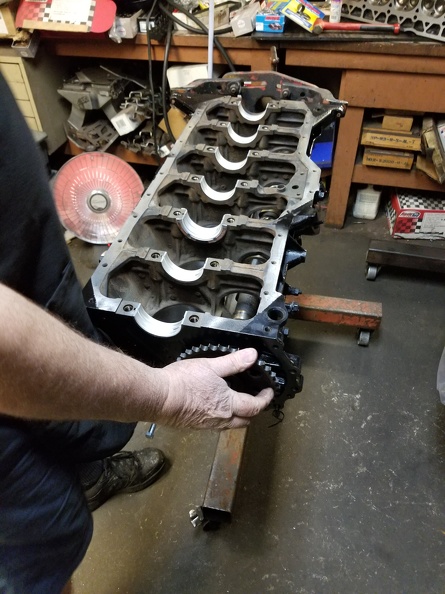
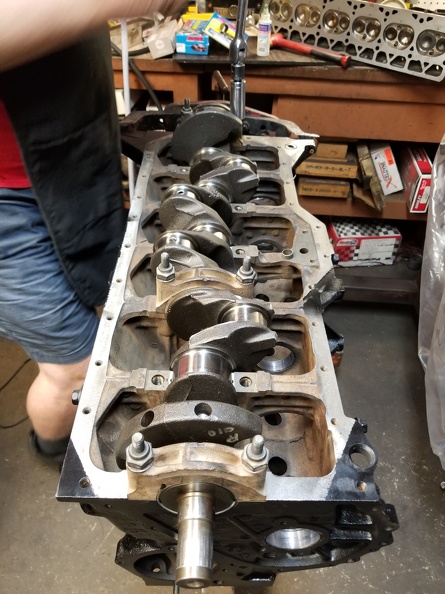
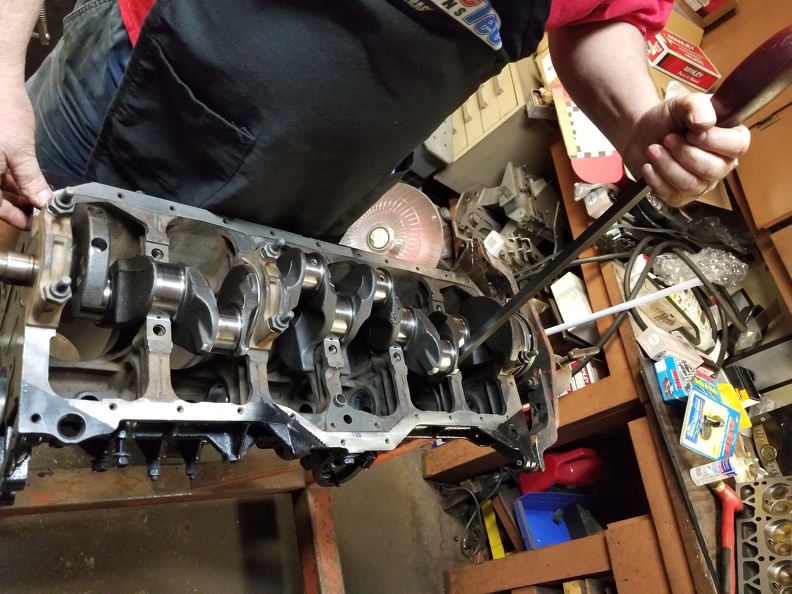
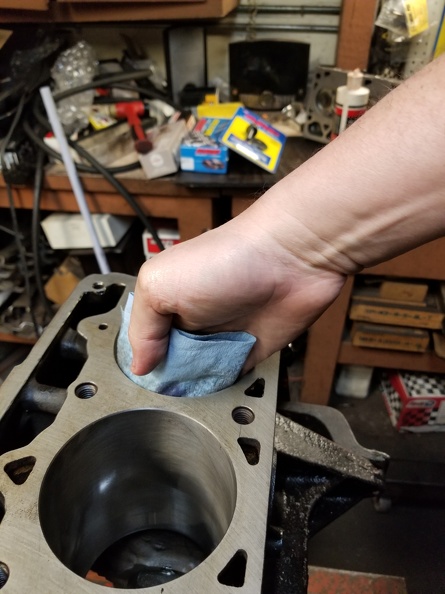
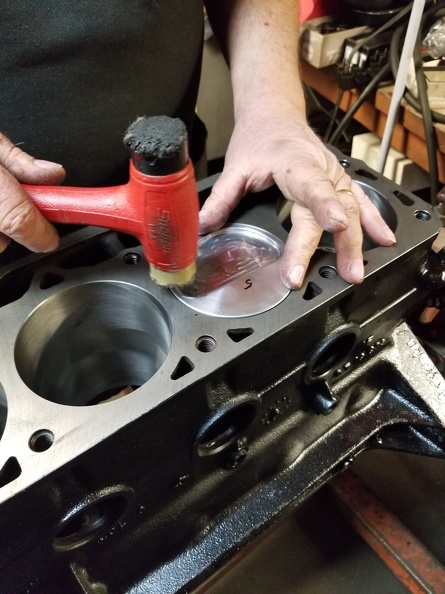
Back to building.
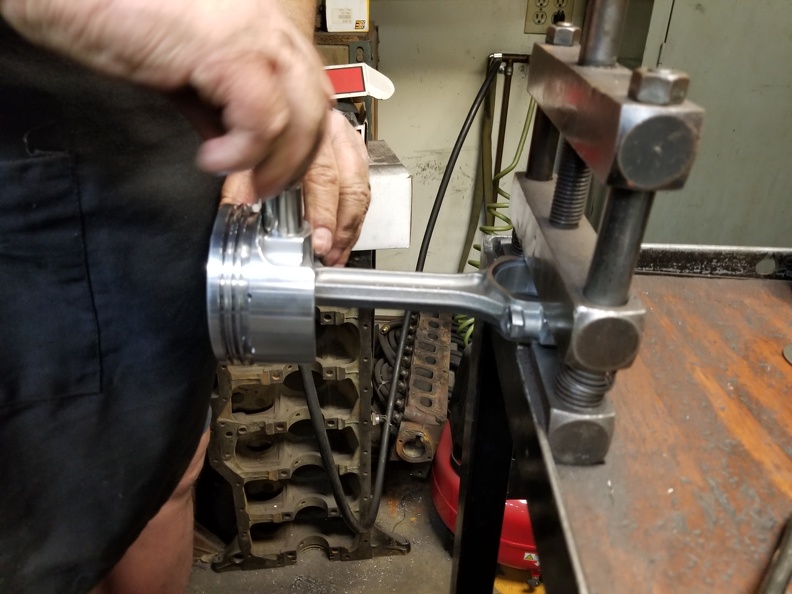
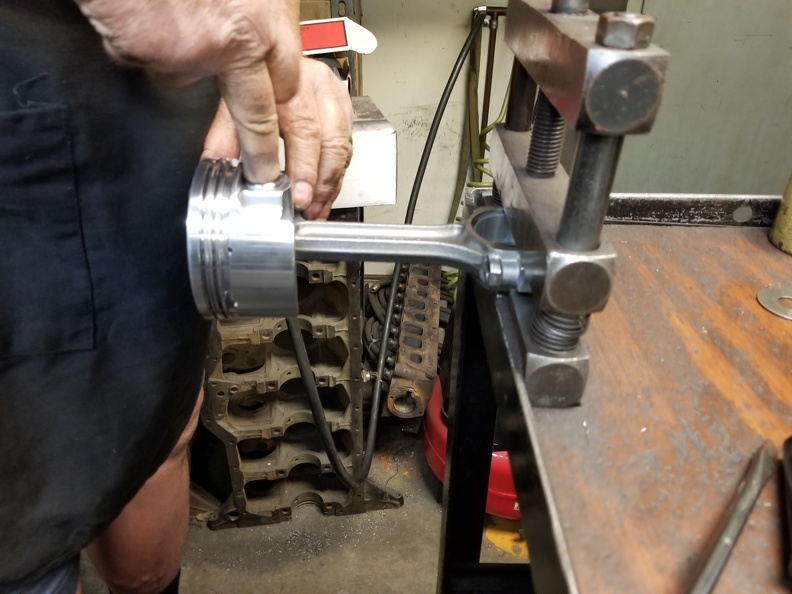
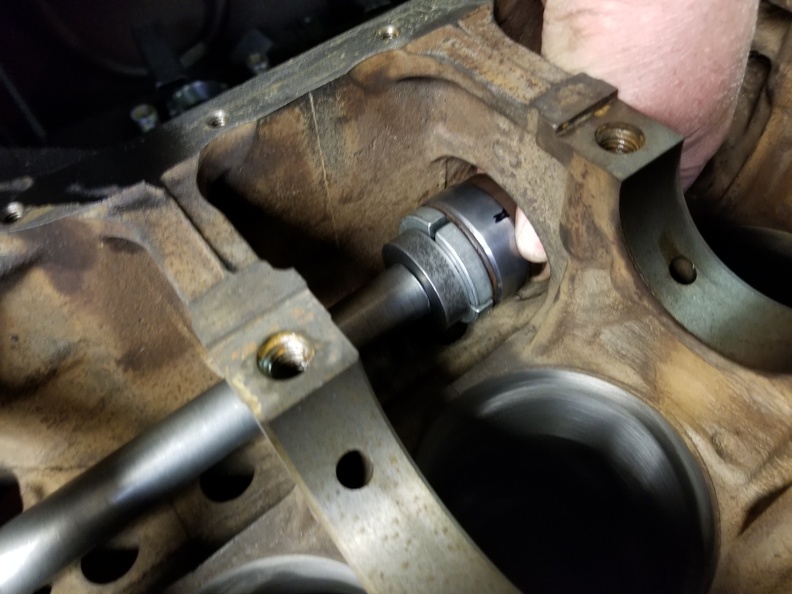
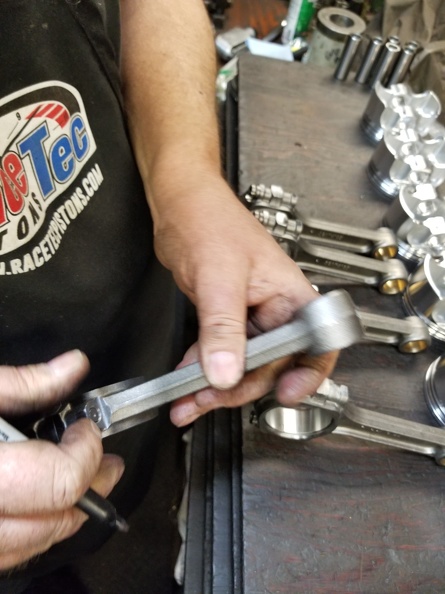
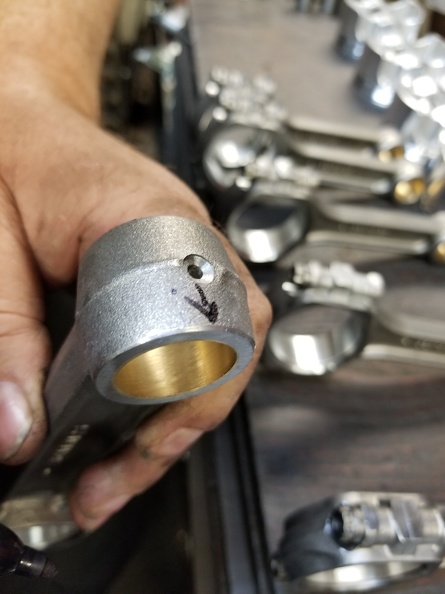
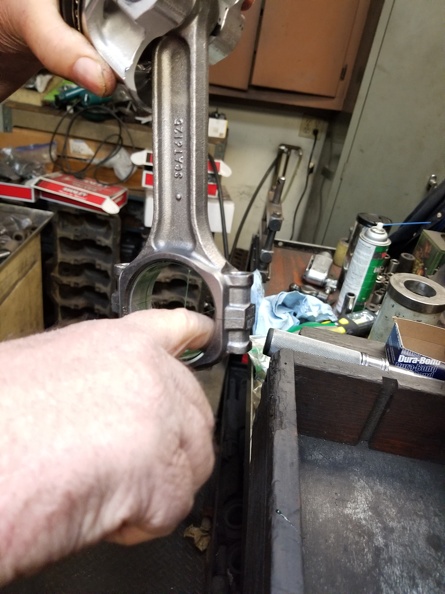
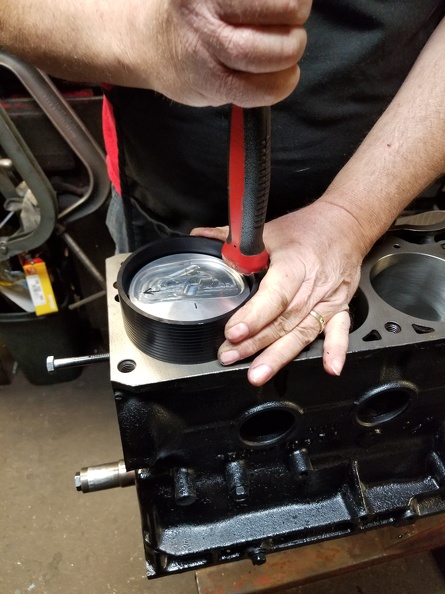
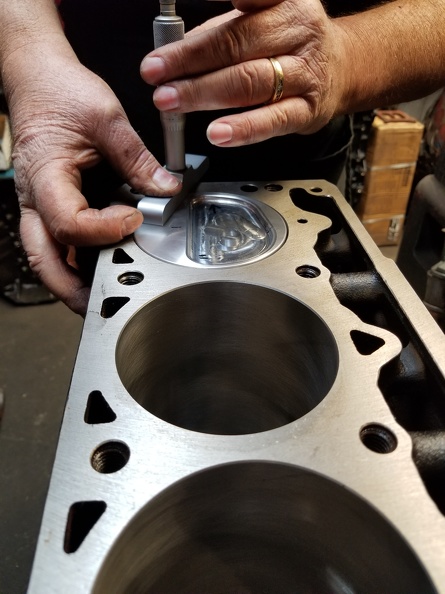
Once we establish which pistons belong to which holes, we need to label 'forward' so we don't put them on backward.
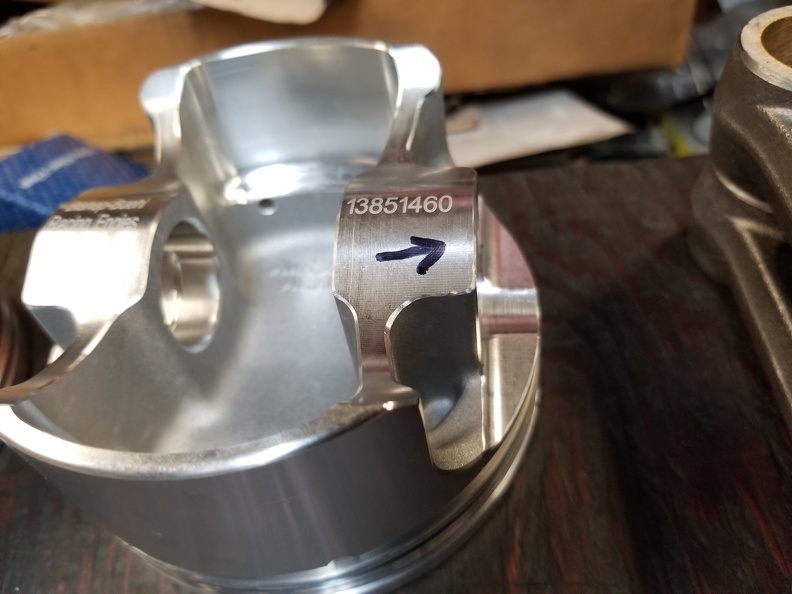
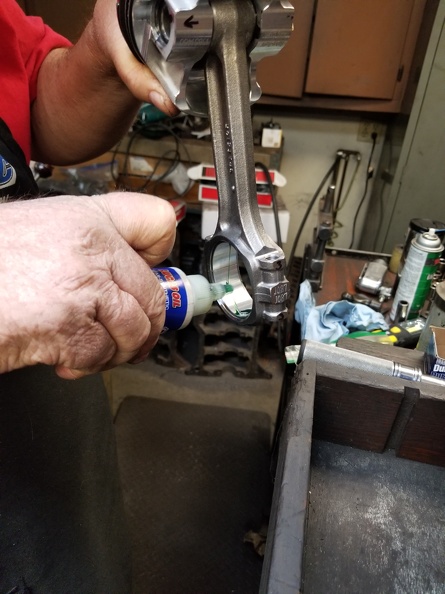
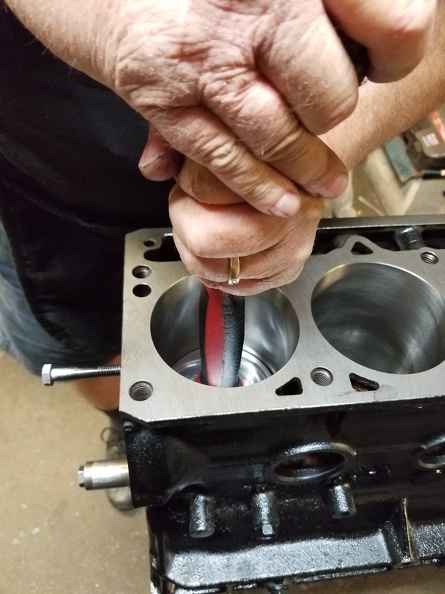
Toss the rod in the rod vice, slide the piston on, slide the pin in, drop in 2 C clips, and then re-mark 'forward'.