My goal is a late model intake, stainless performance header with a full 2.25" stainless exhaust, larger injectors, and bored throttle body.
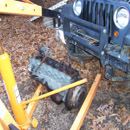
I started with removing the manifolds from the drivers side of the engine.
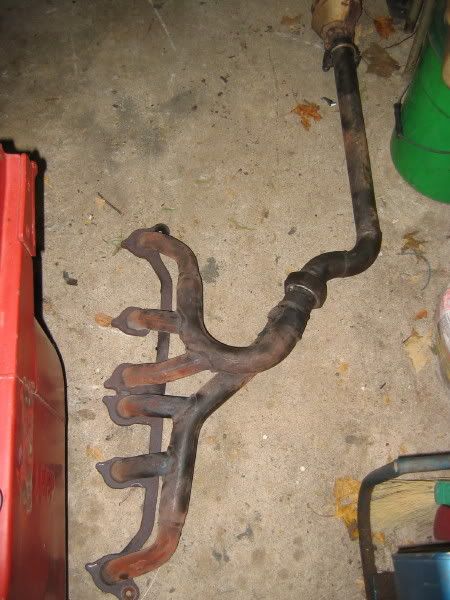
I had been running the OEM header since I did the 4.0 head swap 3 years ago. The tubing was small (1.75" I.D.) and bombed out due to numerous exhaust retrofits, battles with rocks, and general 4 wheeling carnage.
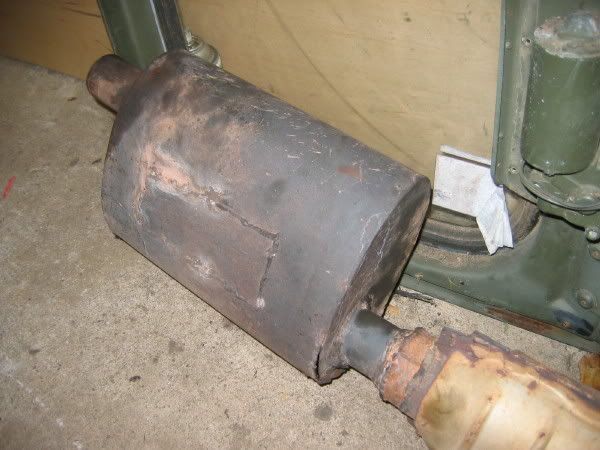
The muffler I had made about 10 years ago out of a old water filled SS fire extinguisher. It has held up very well, and will be spruced up (again) and installed on the Willys.
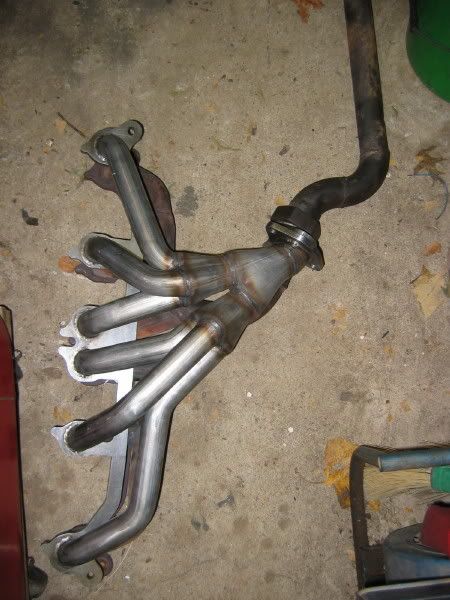
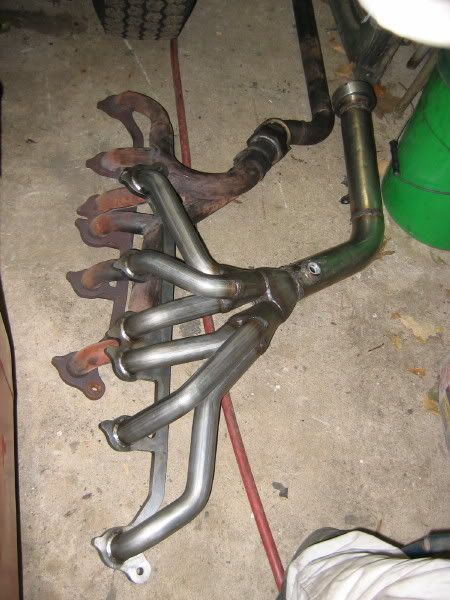
The new stainless steel header I bought off Ebay for about $210 (including shipping). As far as I can tell it is exactly what Banks sells as their Touque Tube. This is the SS409 model. Pictured below, before I cut the flange off it, laying on top of the old header.
Here are the "new" and "old" intake manifolds. The 'new ' one is (as far as I know) from '99-'06 4.0's. The 'old' manifold is from '91 - '98 4.0's. I have heard a ton of hype on the late model manifolds that claimed a ton of power increase by installing it. You can clearly see the octopus like design of the late model.
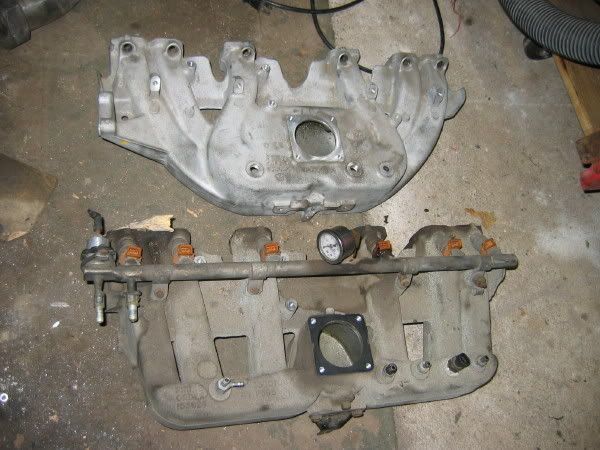
the earlier model has the runners branching off each other
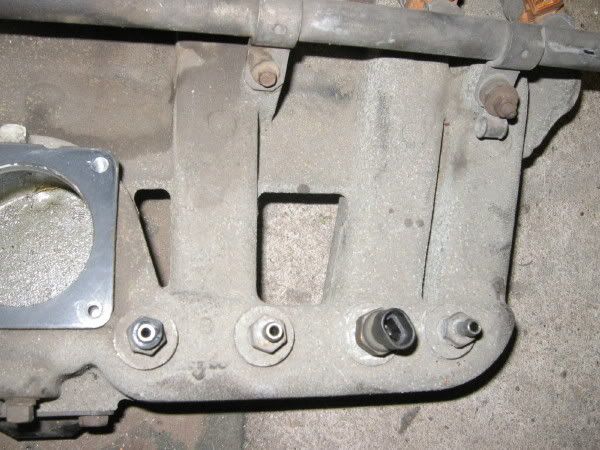
the late model has all the runners meeting in the plenum, which is much larger than the earlier models'. The equal length runners to each cylinder gives them all the same advantage as far as air delivery. I wish I had this manifold on my 258 years ago!

I had a bunch of figuring to do with the exhaust routing, as I was planning on enlarging the exhaust pipe to 2.5" O.D. I first has to cut off the OEM style exhaust flange.
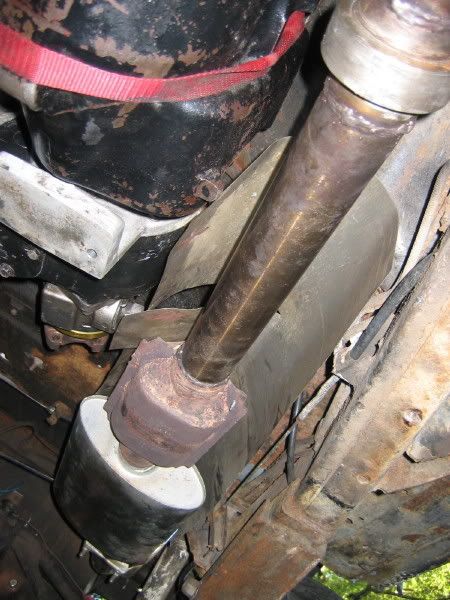
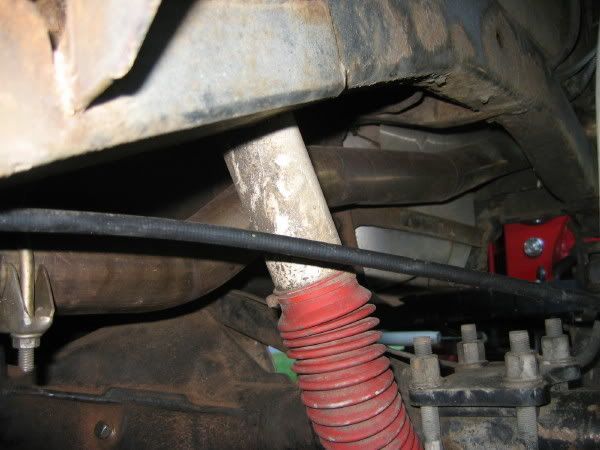
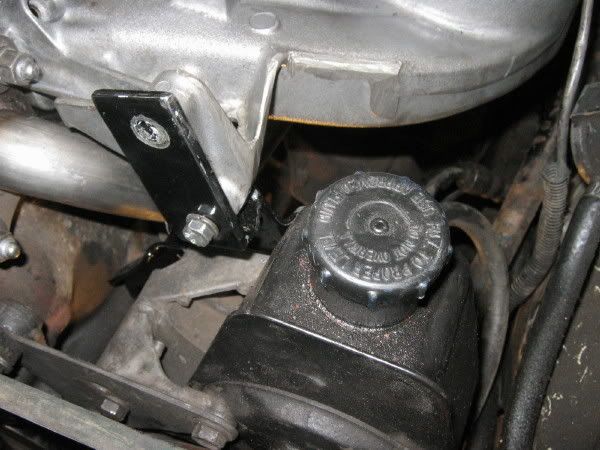
It all took a bunch if times of installing, tacking and rechecking the fit and placement of the parts-- atleat 10 times... here is the final result- the header pipe travels strait down, underneath the clutch linkage. Note the O2 sensor bung.
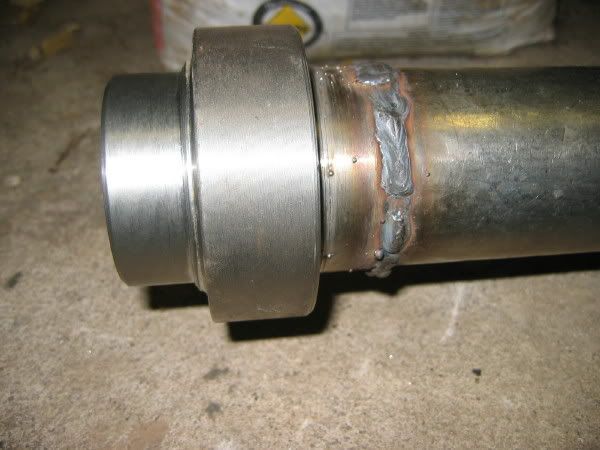
I have installed a hanger on the pipe to allow the header to be bolted to the engine/transmission assembly. I have found this GREATLY reduces the stresses on the header and allows it to remain crack free for a MUCH longere time.


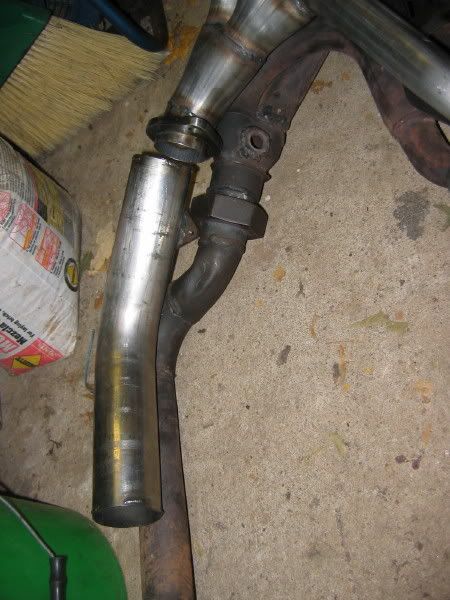
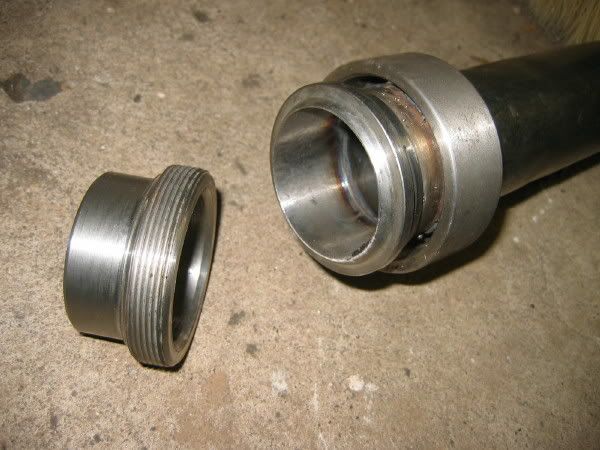
To establish a serviceable joint between the header and the rest of the exhaust, I have grown fond of using stainless steel plumbing unions. Using copious amounts of anti-sieze when installing and then copious amounts of WD-40 upon removal allows for a maintainence free joint. They hold up very well, provide a great seal, and don't require any sort of gasket.
Here is the one that was removed
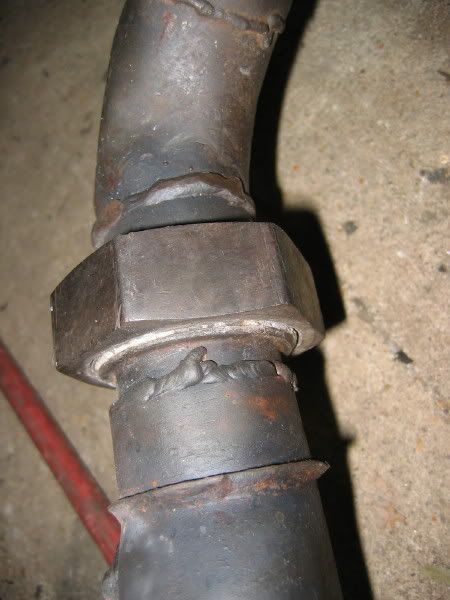
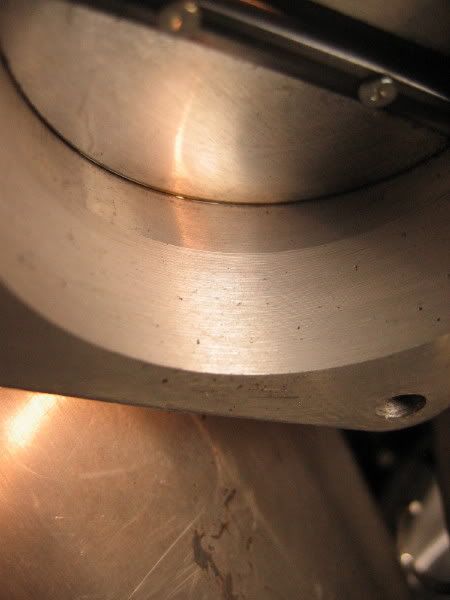
I have found that the facets on the nut can make it difficult to get the wrench in just-the-right spot, so I turned the new one smooth on the lathe. It will allow for quick work with a chain wrench.
For anyone wondering what a chain wrench is.

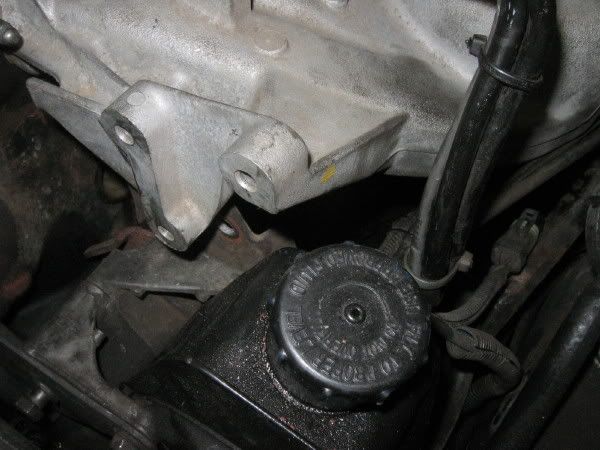
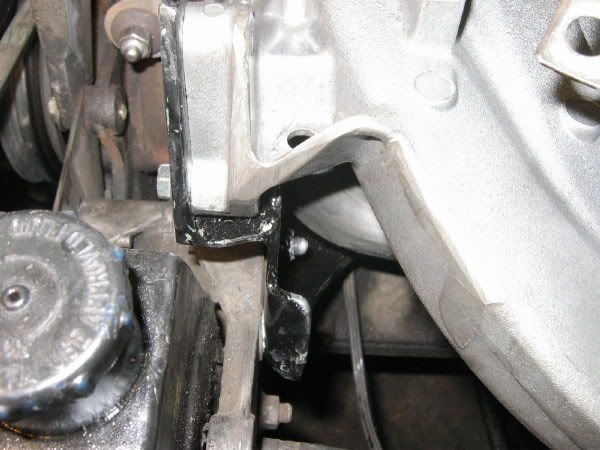
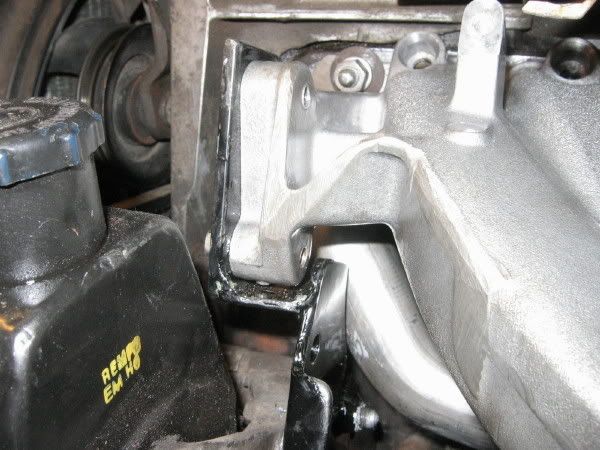
The only trouble spot with the late model intake manifold swap is that the power steering pump brackets don't line up -- at all. For starters, I didn't like how close the one bolt hole/mount was to the power steering pump, so I cut it off and cleaned it up.
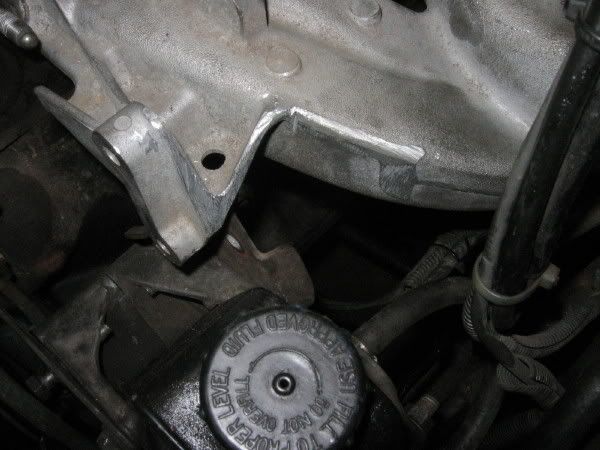
I then fabbed up a few little parts, tacked them together in-place, took it off and welded it up solid. I was alittle fearful from what I has heard about this part of the install, but it went quickly and easily.
It was then time to install the throttle body, but not before 'boring it out' which entails removing the 'choke' from it's bore. The choke is located below the throttle plate. Again-- having a lathe comes in handy. For those that know the notorious whistle that comes with the 4.0 throttle body, this boring seems to have quieted it down quite a bit.
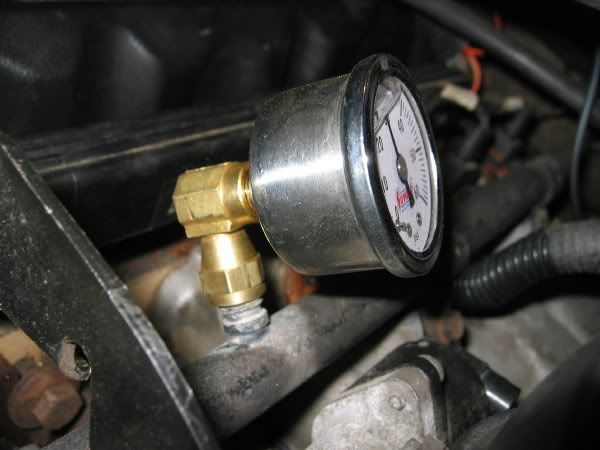
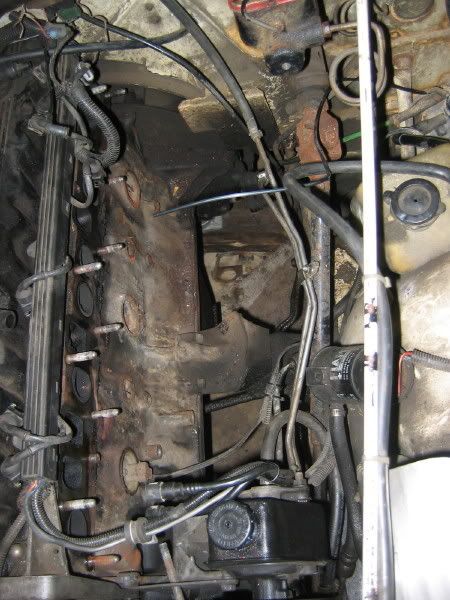
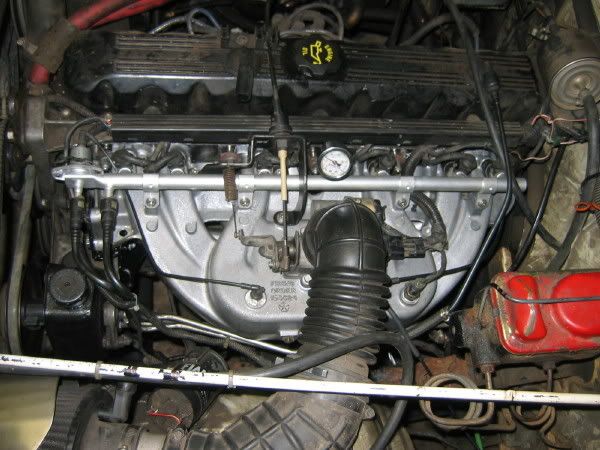
I installed the freshly painted fuel rail, along with the slightly oversized HESCO 23.2 lb/hr (black -pn 53030778) injectors. This is to make up for the larger throttle body and the increase in displacement from 4.0l to 4.3l (it's a bored 258 bottom end). Note the fuel pressure gauge and adjustable HESCO fuel pressure regulator. I adjusted it to just under the stock 39 lbs., with the vacuum line disconnected.
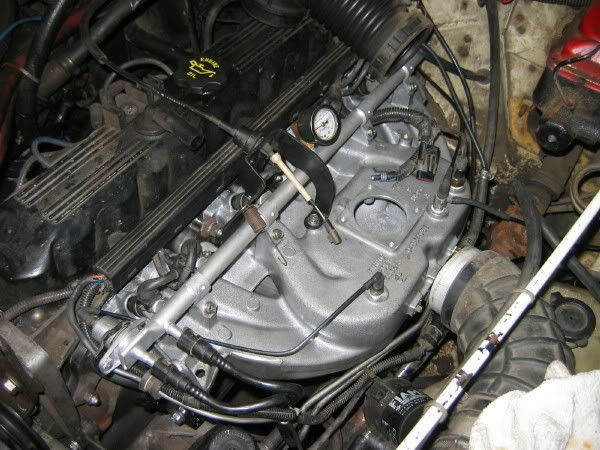
Running-- I have clear coated the intake to keep it nice and shiny for a while-- we'll see how the laquer holds up to the underhood temps. Especially with parts of it being right next to the exhaust. 8-[
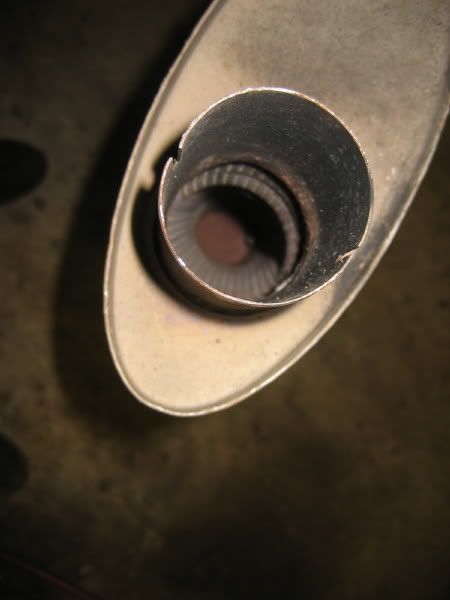
stay tuned for the rest of the install-- the cat ( I reused the one pictured above) and mufler (Dynomax all stainelss glasspack -- ebay $20 brand new!) are together.

As for the performance of it all-- well, it certainly has a bit more throttle snap! It accerates much smoother and has a bit more all through the power range. It was worh the $$, time and materials. I am planning to get it on a dyno some time this winter.
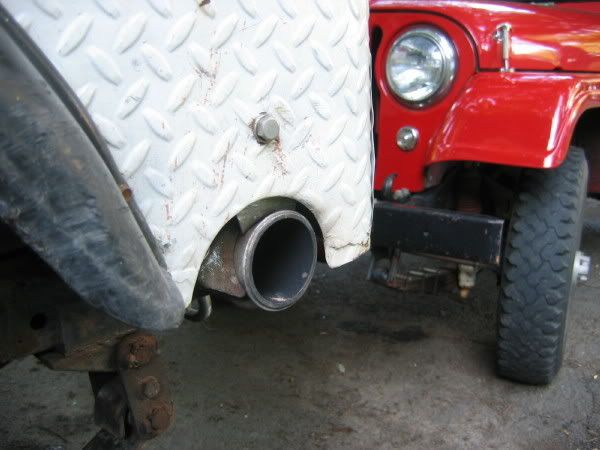
It sure sounds cool.Throaty but not booming. I am anxious to see what an 'unholy' tailpipe will sound like. The tailpipe is slapped on for now-- picks to come of a custom fit model.
Huge thanks to Absolute Auto and Sean Ivey for all the stainless tube, Ebay for the great prices, and Marc Salvatore for the injectors and intake manifold! Biggest thanks to Joanna for allowing me to play with and build my toys!
`