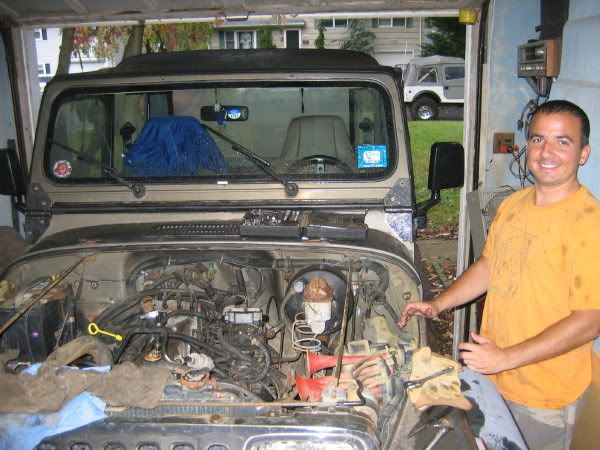
This install was done in October of 2007
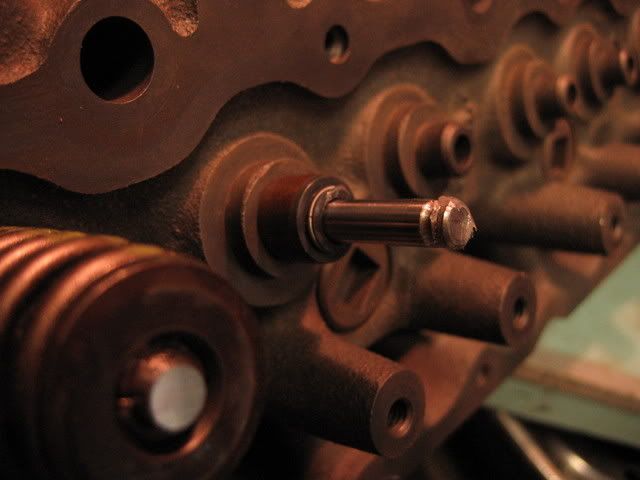
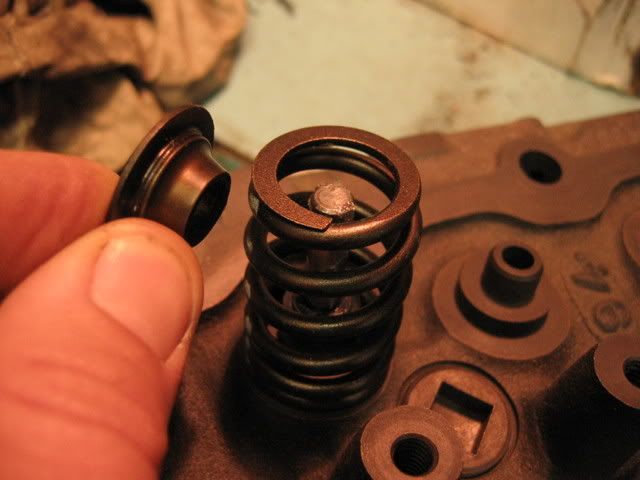
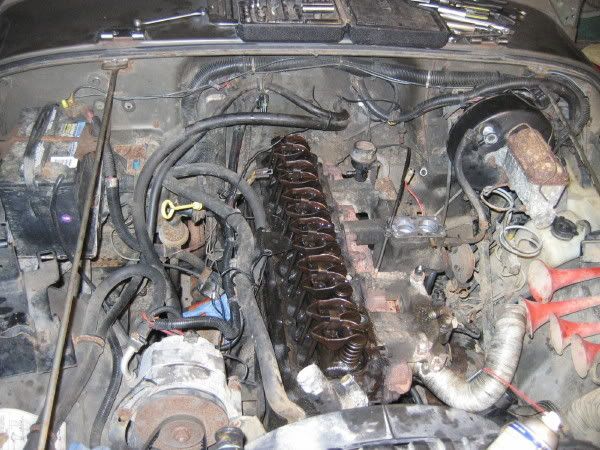
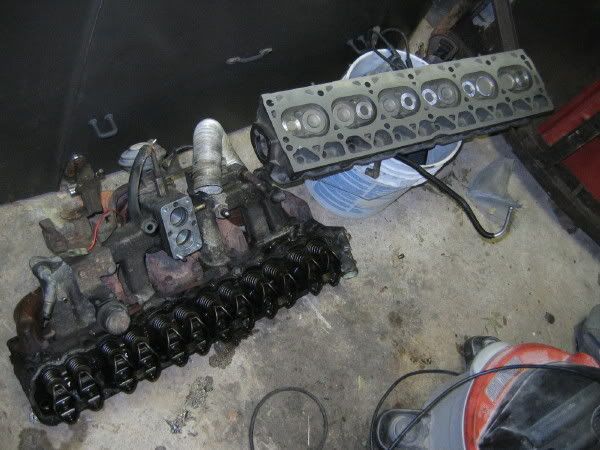
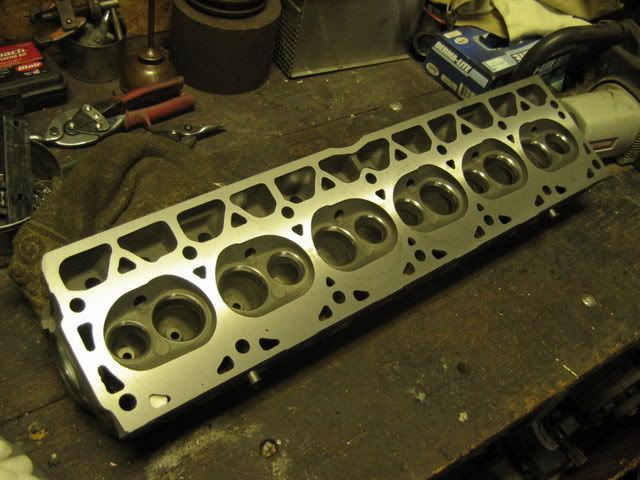
First things first-- I stripped the head-- the valves, rockers, bridges, and pushrods went in the trash. All we are keeping are the bolts, spring caps, and keepers.
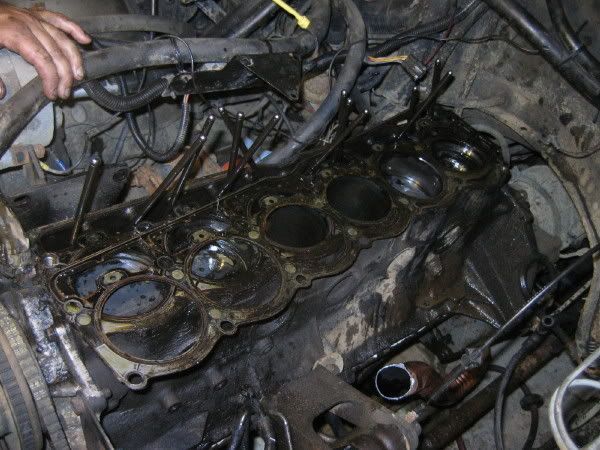
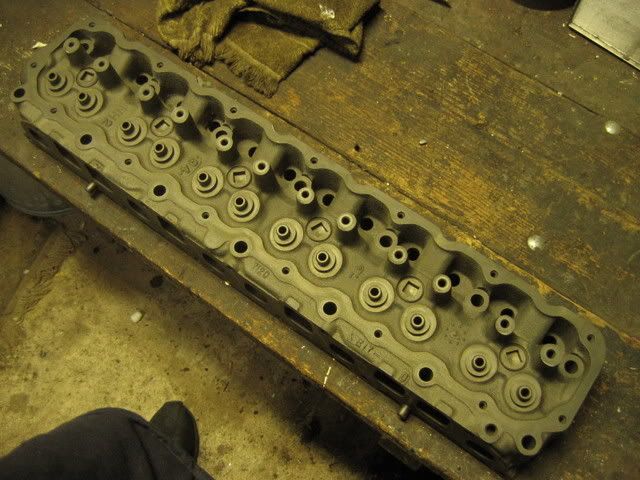
This being a junkyard head, it looks like some water got in-- we are having the head magnifluxed (it passed-- no cracks!
Parts List-
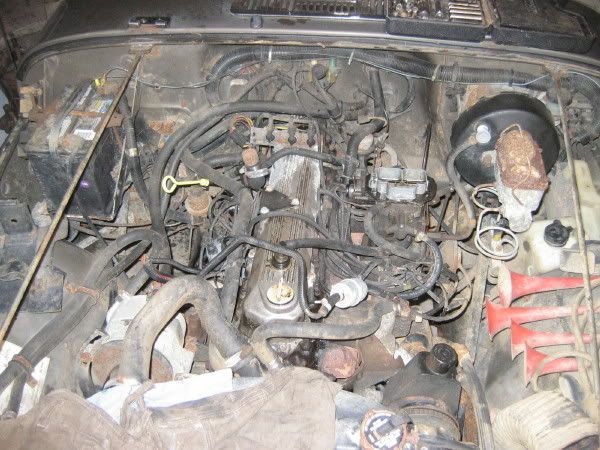
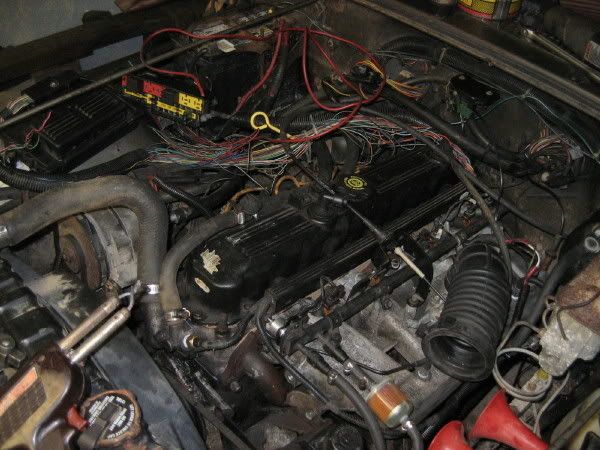
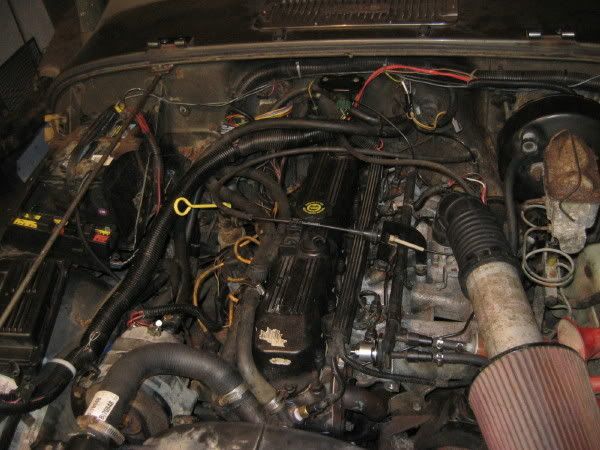
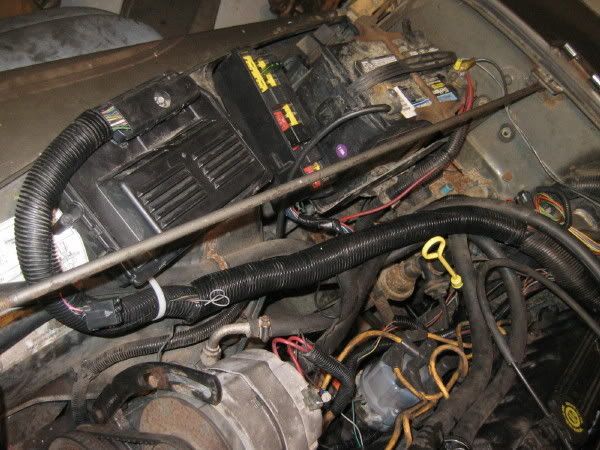
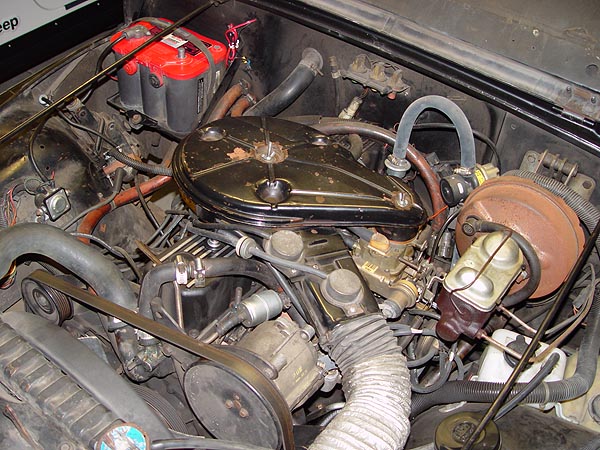
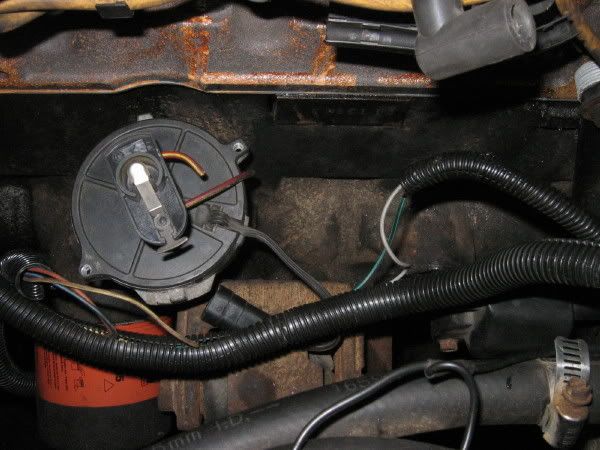
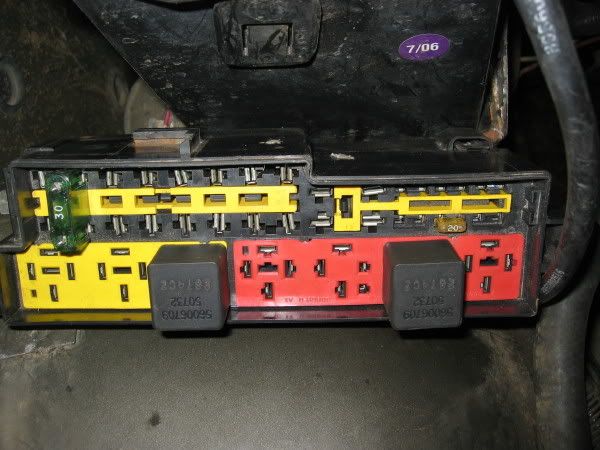
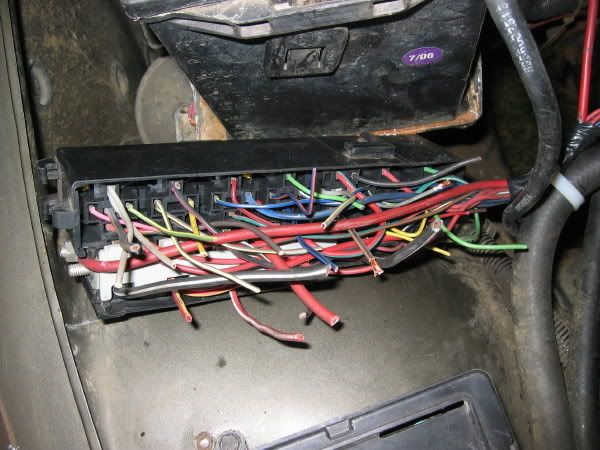
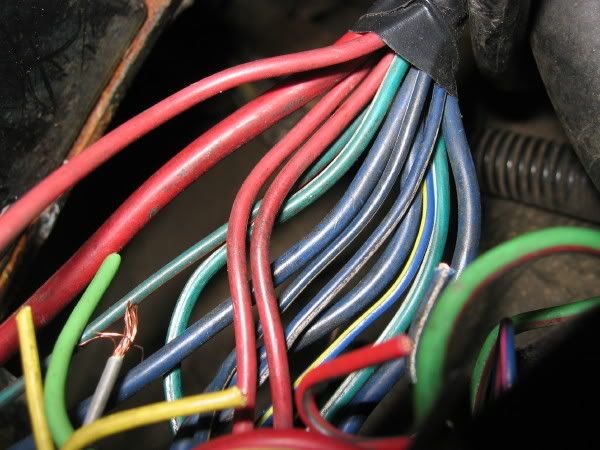
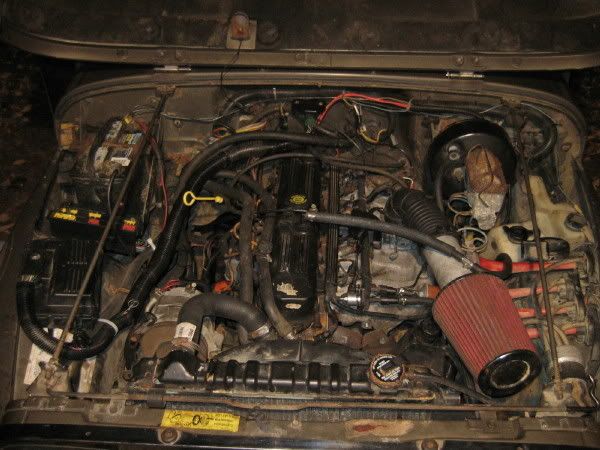
First-things-first: grab EVERYTHING off the donor XJ (91-95), which includes: the head, intake (w/ throttle body and injectors/fuel rail) and exhaust manifolds, computer (PCM), complete engine bay wiring harness in one piece (cut off the trunks that lead throught the fire wall), fuse box (PDC) & its' mounting bracket, throttle cable, MAF sensor (on firewall, above valve cover), distributor and ignition coil, waterneck, all the sensors (O2, water, Etc). The crank position sensor (CPS) on the bellhousing you will not be used, just unplug the harness from that sensor. All this was under $300
Aftermarket parts:
here is a list of parts and their numbers to order from HESCO
VSS-(vehice speed sensor)- PN: HES7015 ~ $122
VSS connector- PN 4414048 ~ $14.50
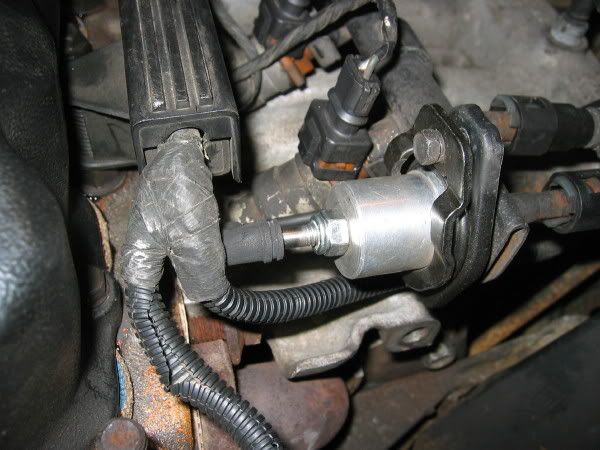
91-95 Adjustable Fuel Pressure Regulator- PN: HES9195FR ~ $189.00
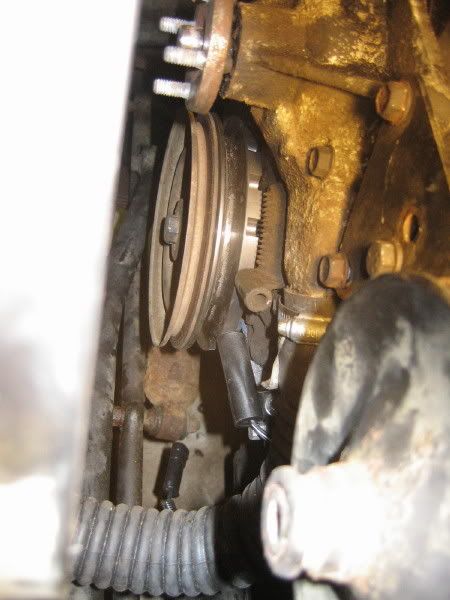
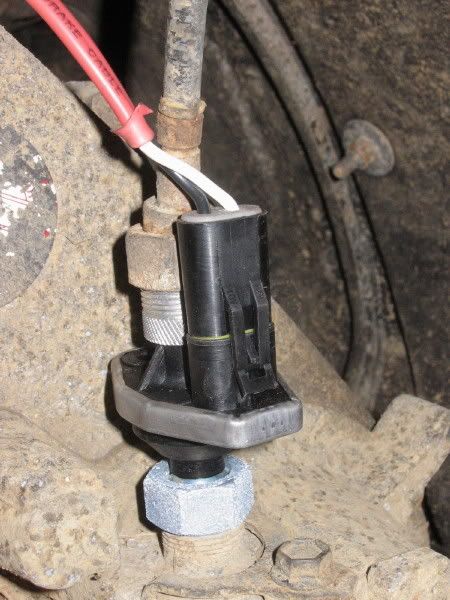
91-03 Crank damper/sensor kit- PN: HES9199ED ~ $289.00 BE SURE TO VERIFY WEATHER IT IS FOR A V-BELT OR SERPENTINE SETUP!!!
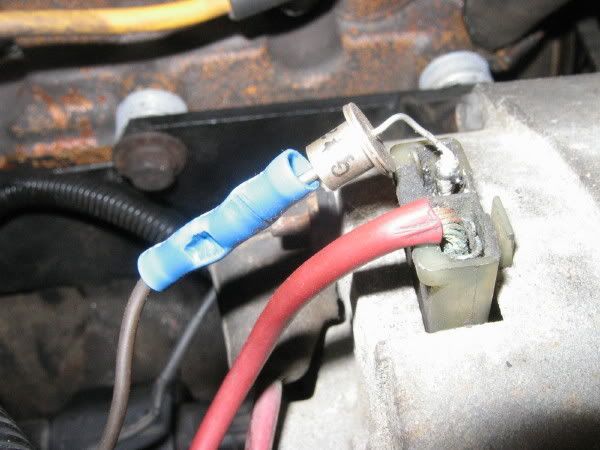
Crank Sensor Connector- PN: 56016983 ~ $14.00
Here is some stuff to get from Summit:
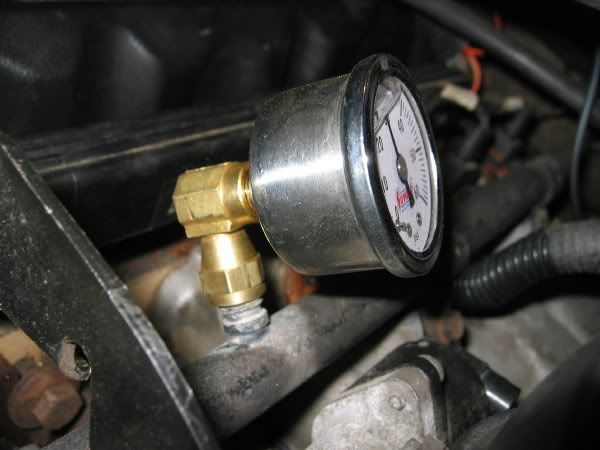
Fuel pressure gauge: SUM-800160 - $17.95
Hi-flo thermostat: EMP-309 - $12.95
fuel pump block off plate: SUM-402035 - $3.95
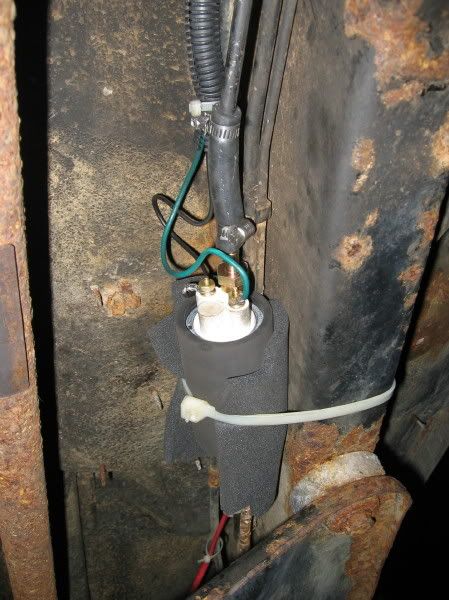
Auto Zone Fuel Pump- PN: E2000 ~ $95.99
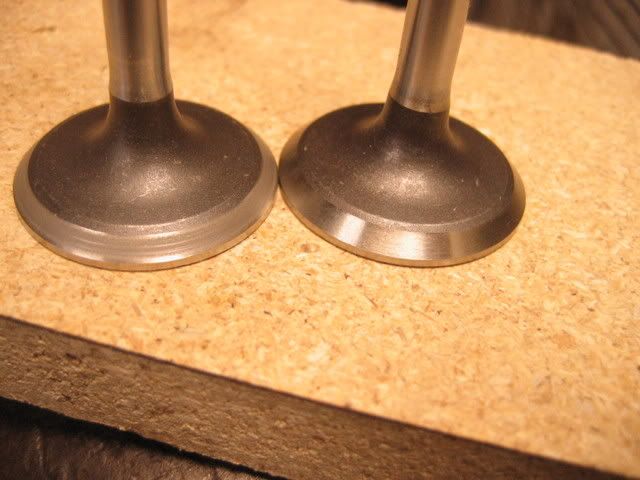
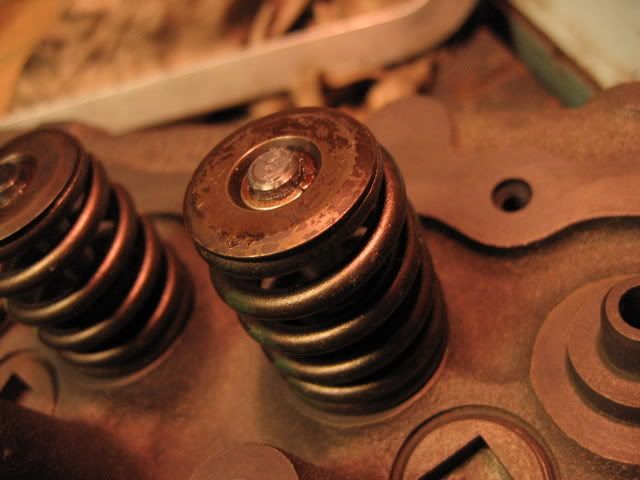
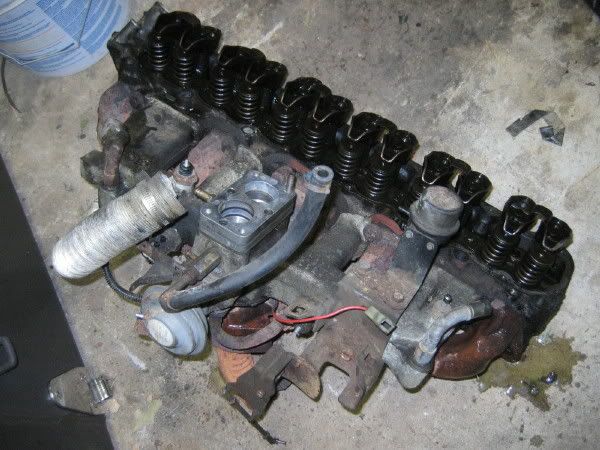
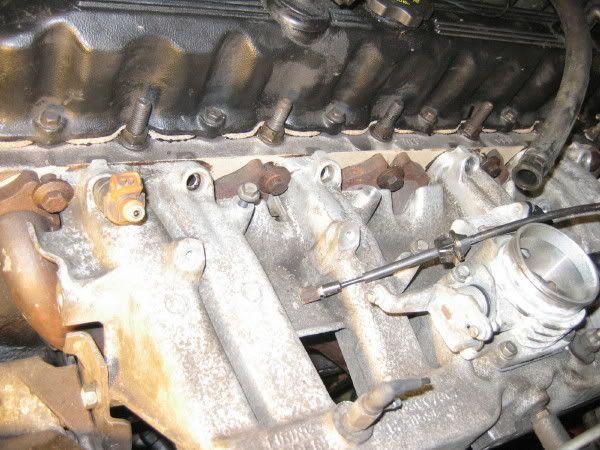
As said above, we chose to rebuild the head-- we had iit magnifluxed, the valve seats reground, and the head milled flat (it needed about 0.010 milled off). We are replacing the pushrods, rockers, valves and springs with new stock parts. We haven't picked it up yet-- still waiting for a call from the machine shop.
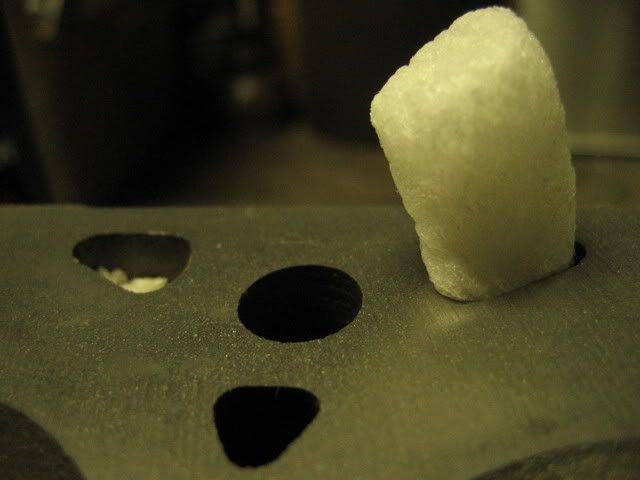
The trick to this whole install (other that the wiring 8-[ ) is that there are small casting holes in the water jacket that need to be filled in. These holes need to be filled due to the slight difference in block design between the 4.0 and 4.2. If they are not filled, the anti-freeze/coolant will literally pour out of the engine when it is filled. JB weld takes care of it. It is really easy to do and VERY reliable. Many have done it before me. The other conversion I did on my own Jeep has lasted more than 3 years an 30K miles without a drop leaking out. Stay tuned for the pics on the sealing process.
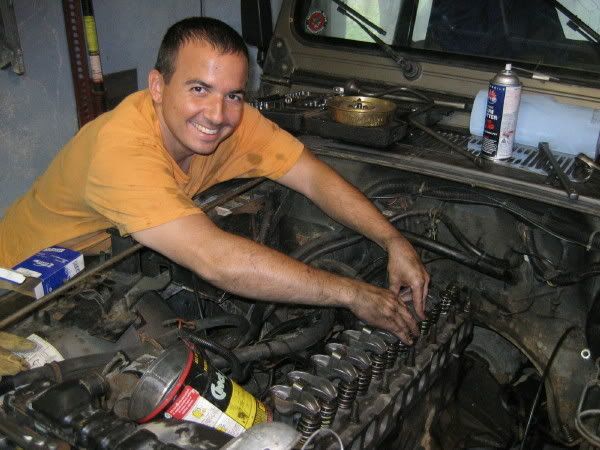
-Well, instead of working on the D300 today-- I did put a little time in on the head-
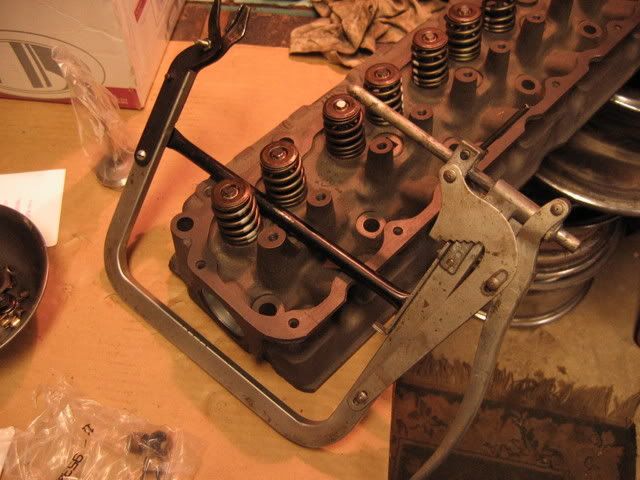
Tom dropped off the head and parts from Read Auto yesterday AM. As far as I know it cost about $700 for the parts and machine work. As I may have said above, this includes the valves, springs, rockers, pushrods, head gasket set(Valve cover, valve stem, manifold, head, water neck, etc), O2 sensor, Coolant Temp Sensor(CTS), boiling and cleaning the head, magnifluxing, regrinding valve seats (3-angle?), and milling the head flat.
Nice and clean!
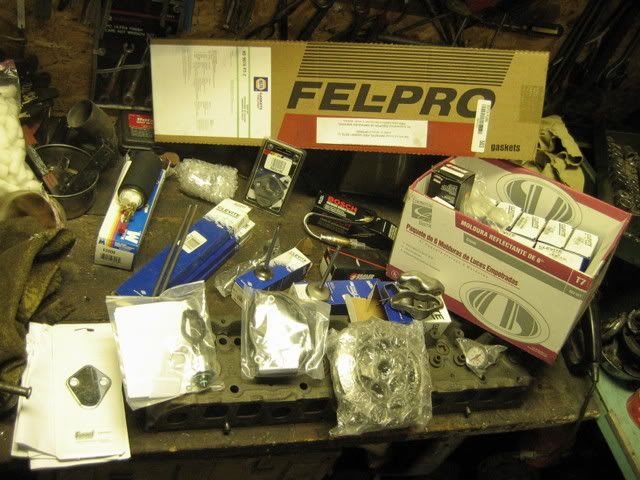
all the parts-- it is amazing what a simple rebuild costs-- going with HP stuff certainly cost $$!
This is the "majic number" -- the 91-95 HO head (PN- 7120) is said to be the most desireable (according to the 'Strokers' list serve). It is located on the drivers side of the valve cover, under the fuel rail, above the #4 exhaust port.

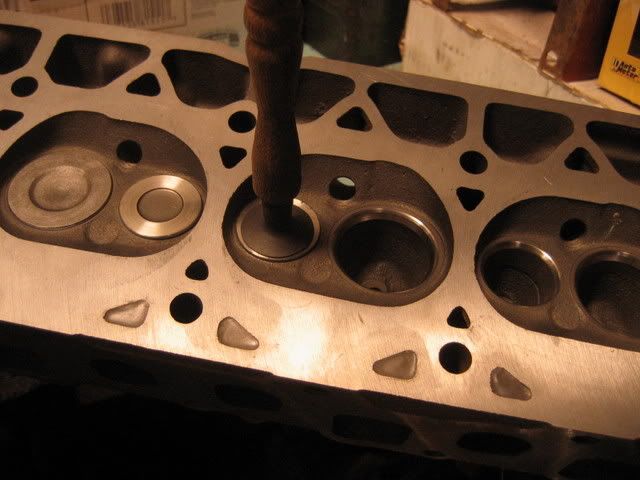
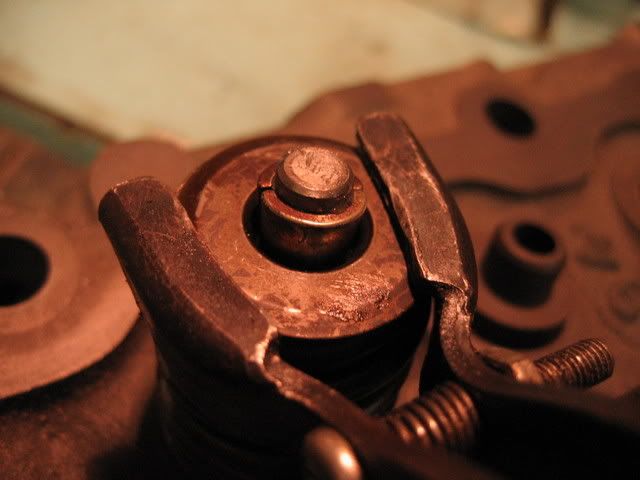
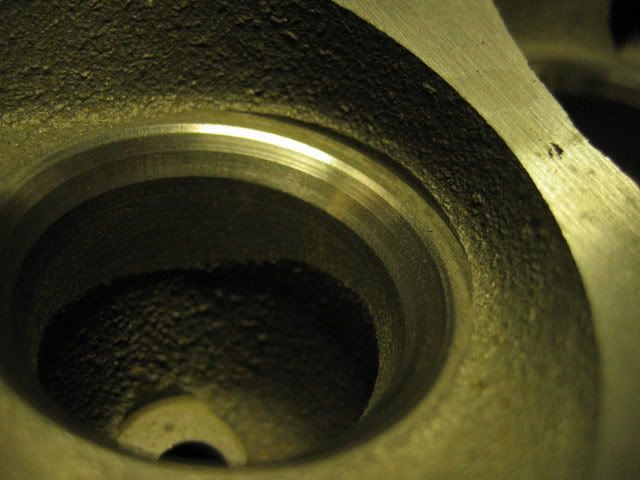
Photo of the valve seat grind
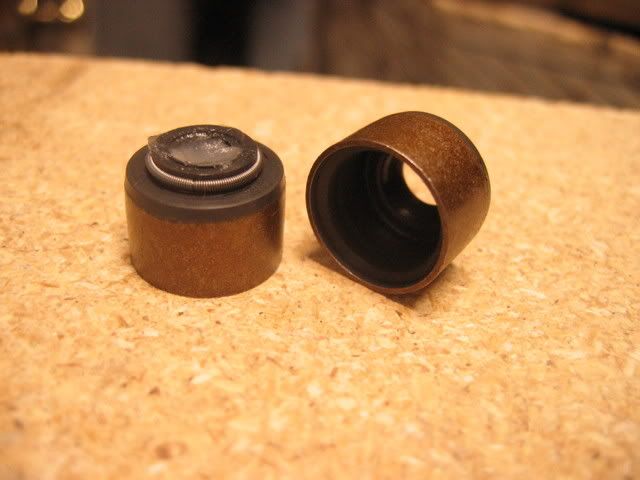
This is how I filled the holes-- these are the water soluble packing peants-- the literally turn water milky -- so we aren't worried about them effecting the cooling system. I couldn't get my hands on some when I did my head, so I eneded up using chunks of oatmeal cookies wrapped in toilet paper.
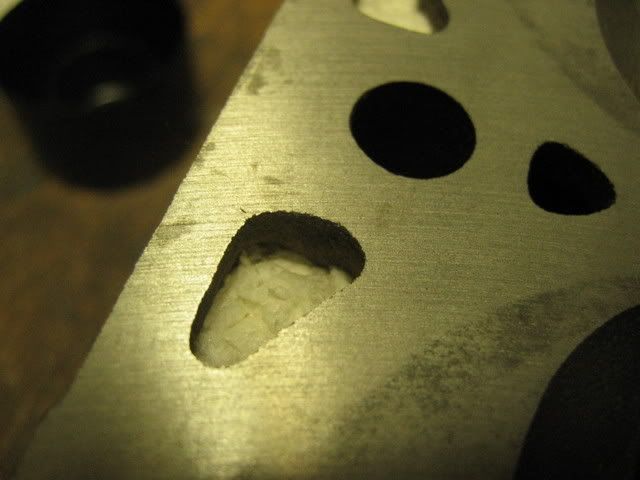
Here is a detail of the filled hole, they are inserted so that there will be about a 1/4" of JB Weld in the hole. A note on this to any nay-sayers -- my drag racing neighbor(he has 3 "Wallys") tells me that he has seen JB Weld used successfully to repair O-ringed engine blocks! I have had my sealed 4.0 head for 30K miles without so much as a drop of anti-freeze leaking out.
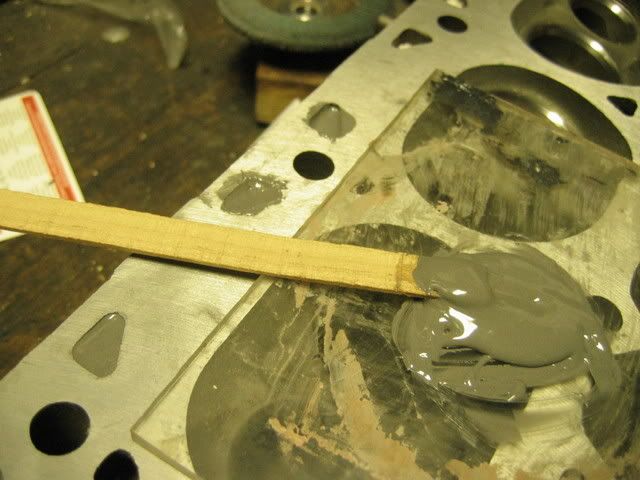
Doin' the Deed-- it is simple work, took about 1/2 hour and half of each tube of JB Weld to fill all the holes. Uncured JB Weld cleans up easily with denatured alcohol.
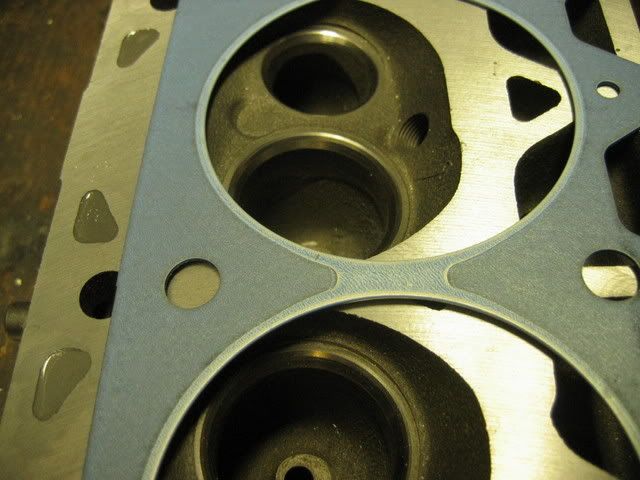
Just to prove the point that these passegeways are NOT needed (they are leftover form the casting process)-- you can see here that the head gasket will seal them off in the factory application.