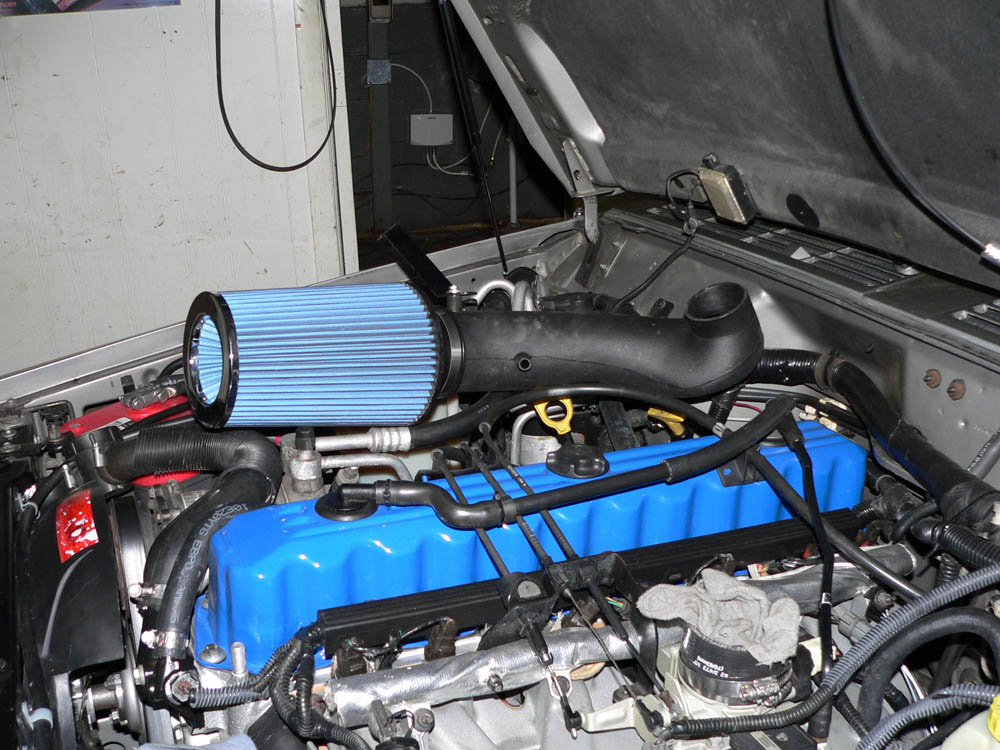
I then purchased a Volant intake and a Amsoil (EAAU3590) air filter. I decided on the Volant over something like a K&N because the Volant tube was larger, accepting the larger filter. Also, the K&N did come with a simple shield but then the shield seals to the hood, right about where the driver's side hood vent is located. Sure, I could use the hood vent as an intake but I put them there to extract hot air from the engine bay. So I didn't want to take away that function.
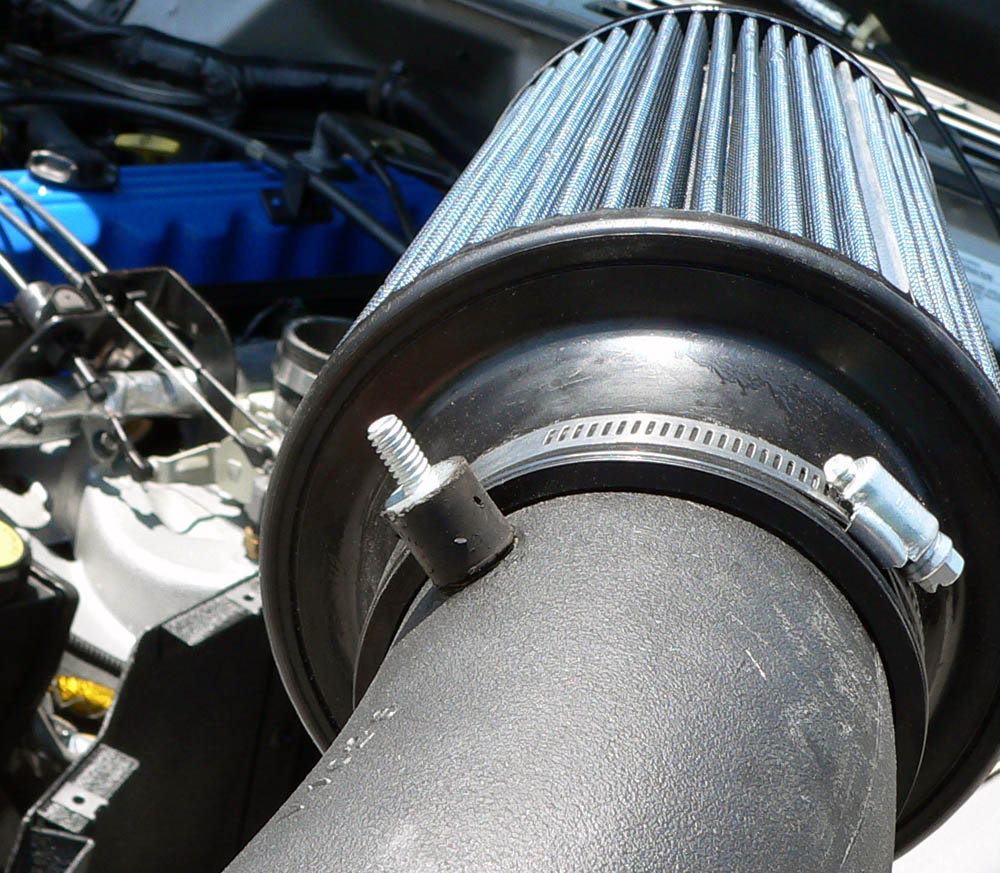
The Volant came with a small shield for the filter it came with but I wanted to use the larger Amsoil filter. The Amsoil filter is a cone style, 6" wide at the base, 9" in length, 5" at the top, and a 3.5" inlet. The shield wouldn't fit with the large Amsoil filter nor did it do anything in the way of blocking hot engine air. It was pretty much just a dirt shield. So after much thinking I decided to build an air box with a lid.
Volant intake with Amsoil filter:
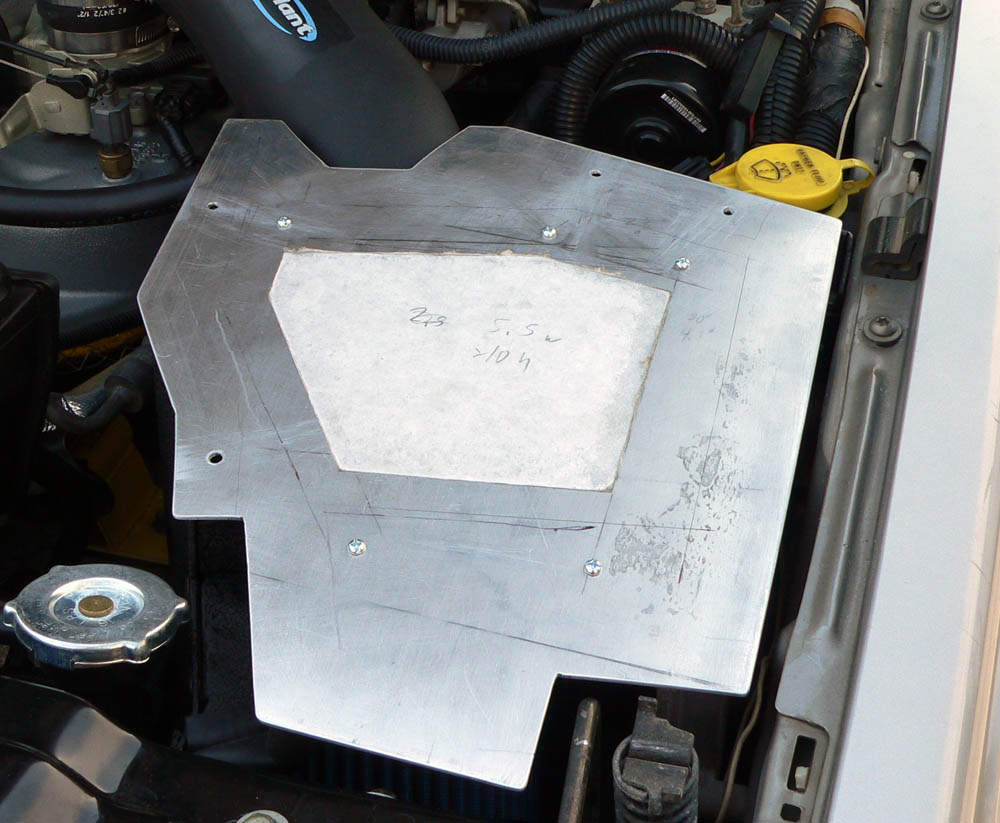
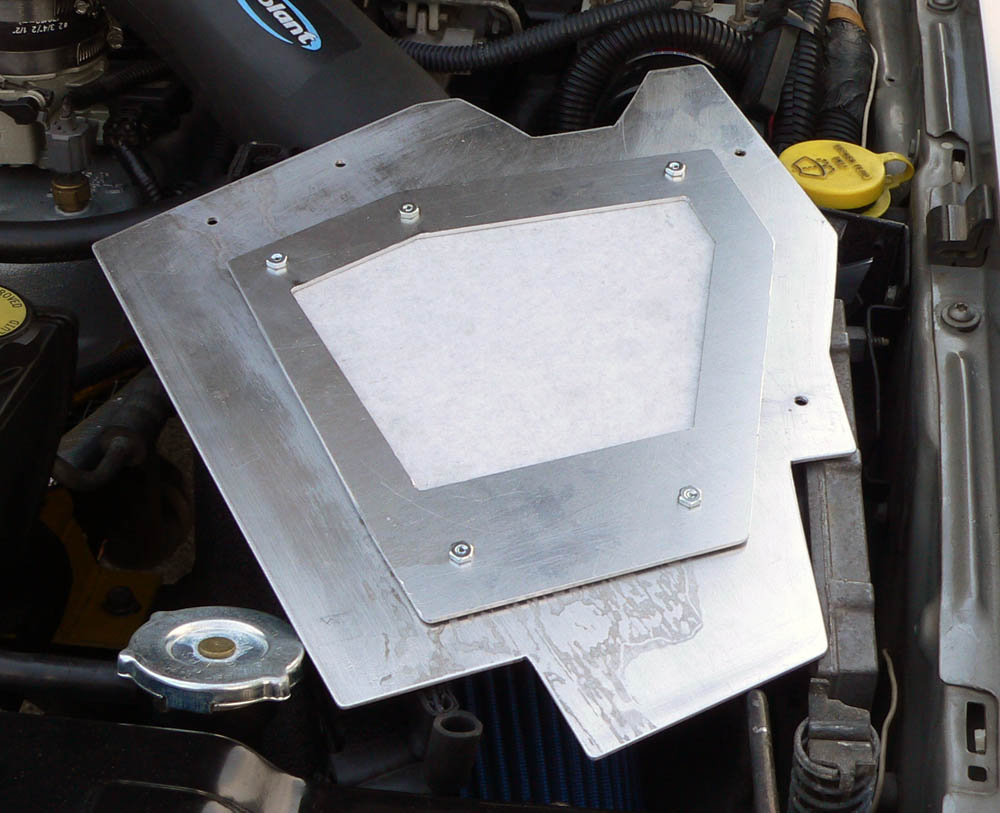
I decided to make a shield similar to K&N's, but extending further back in the engine bay to accommodate the filter location. I made the shield out of 3 pieces of .080" aluminum. One is for the rear part, one for the side and one for the radiator cap. I started with a cardboard mock up but it wasn't holding form as well as I needed it to. So I went with .020" aluminum for the mock up, which worked much better. I cut the aluminum with a combination of a kick shear and jigsaw then bent it on a metal brake. Making the shield took the better part of a day as I had to account for clearance issues with wires and other components in the engine bay. The lid was easier. I did use cardboard for the template than cut it.
The crappy cell phone pics below are of the air box being mocked up.
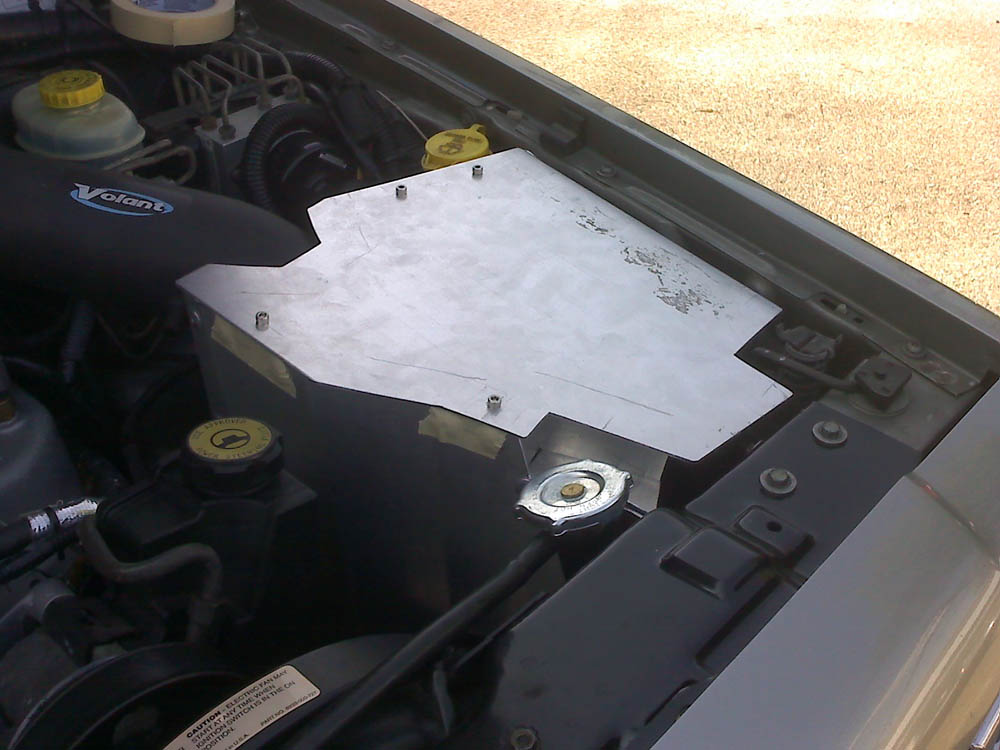

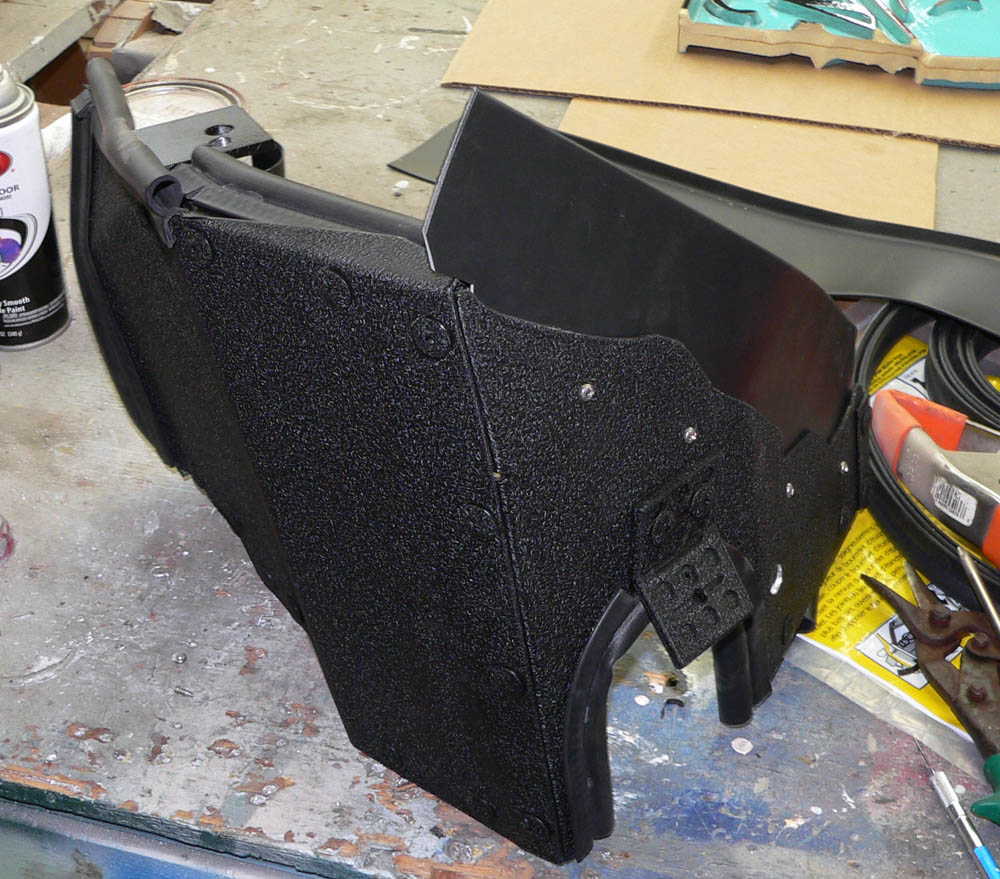
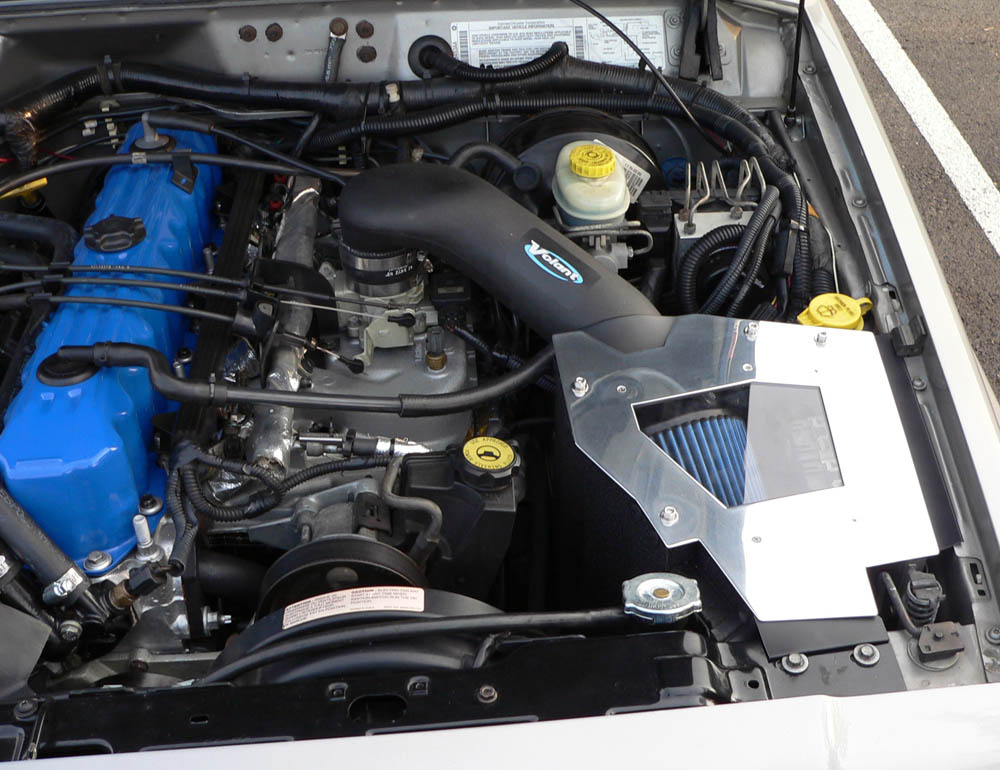
The air box will be sealed to the fender with weather stripping. For the larger or uneven gaps (such as the rear of the box with wires and curved inner fender, where the air tube enters the box and where the box meats the radiator support) I will use a rubber strip. I currently have a piece of rubber baseboard I am going to give a shot and see how it holds up to the engine bay temps. I painted the shield part using VHT Wrinkle Paint. The Lid is yet unpainted and I haven't decided if I will do anything else to it.


Oh.. that bracket on the rear is to hold the air tube. Its made out of a gas pedal I had previously made and decided not to use.
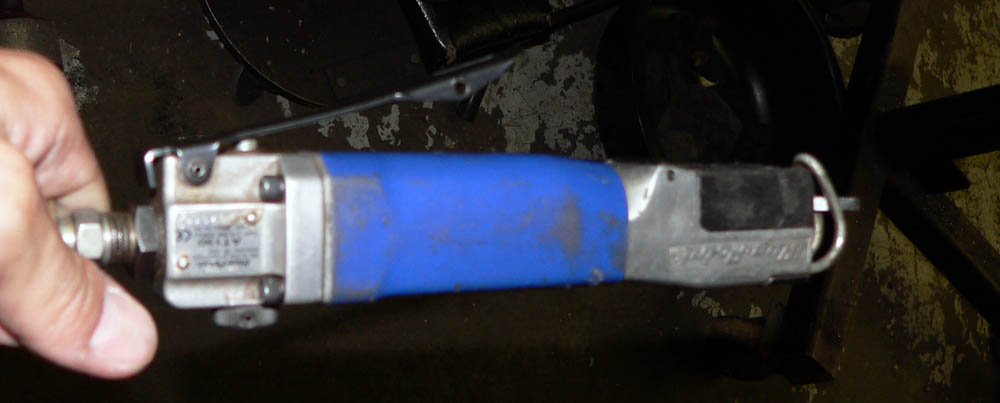
Now that I had the air box completed I had to get air to it. As some point Jeep decided to do away with the hole in the body panel behind the headlight. The hole was feeding the stock air box, and my 2000 XJ didn't have one. So I had to make a hole. After much thinking and posting this question here: http://www.naxja.org/forum/showthread.php?t=1063867. I decided on the placement of the hole. After masking off the area I was cutting in I did the cuts with a small air powered reciprocating saw. The saw fit perfectly in the limited space and cut the sheet metal like butter. I also cut a bit out of the fiberglass header panel and head light bucket. The blade on the saw was actually broken which made its length perfect. After cleaning the cut and de-burring it I put down a layer of POR15 engine enamel which I had left over form another project.
The saw:
The hole I ended up with:

Cut in the header panel:

I forgot how itchy fiberglass dust it.
Thats it for now. I'll be installing the shield tomorrow and maybe working on the lid as well. I'll update this thread as I proceed with the install.
-Chris